Attention: Here be dragons
This is the latest
(unstable) version of this documentation, which may document features
not available in or compatible with released stable versions of Godot.
Checking the stable version of the documentation...
自定义后期处理
前言
Godot provides many post-processing effects out of the box, including Bloom, DOF, and SSAO. However, advanced use cases may require custom effects. This article explains how to write your own custom effects.
实现自定义后期处理着色器的最简单方法是使用Godot的内置功能从屏幕纹理中读取. 如果您不熟悉这个, 您应该先阅读 屏幕阅读着色器教程 .
单通后期处理
Post-processing effects are shaders applied to a frame after Godot has rendered
it. To apply a shader to a frame, create a CanvasLayer, and give it a ColorRect. Assign a
new ShaderMaterial to the newly created
ColorRect, and set the ColorRect's layout to "Full Rect".
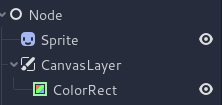
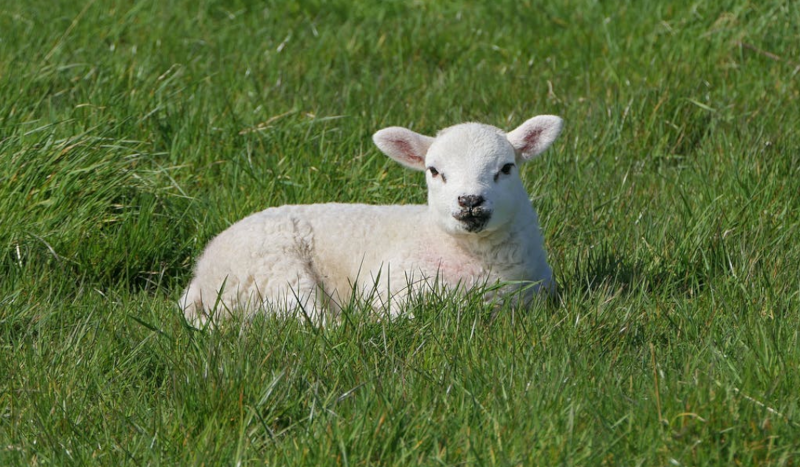
Your scene tree will look something like this:
备注
Another more efficient method is to use a BackBufferCopy to copy a region of the screen to a buffer and to
access it in a shader script through a sampler2D using
hint_screen_texture.
备注
在撰写本文时,Godot不支持同时对多个缓冲区进行渲染. 处理之后着色器将无法访问法线或其他渲染通道. 你只能访问已渲染的帧.
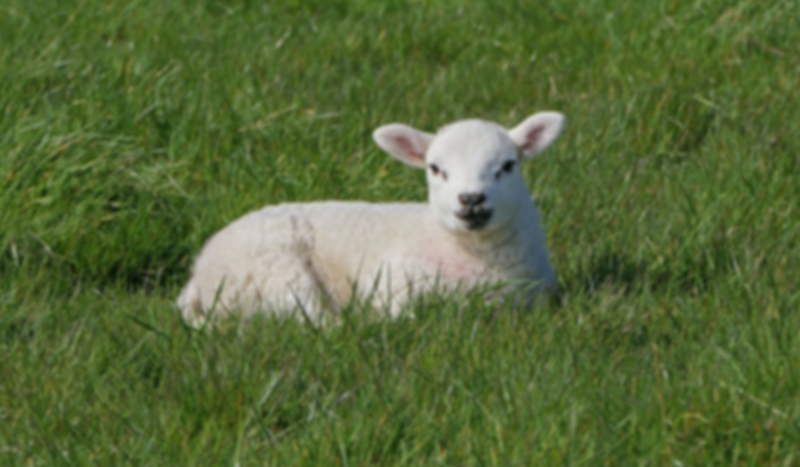
For this demo, we will use this Sprite of a sheep.
Assign a new Shader to the ColorRect's
ShaderMaterial. You can access the frame's texture and UV with a
sampler2D using hint_screen_texture and the built in SCREEN_UV
uniforms.
Copy the following code to your shader. The code below is a hex pixelization shader by arlez80,
shader_type canvas_item;

uniform vec2 size = vec2(32.0, 28.0);
uniform sampler2D screen_texture : hint_screen_texture, repeat_disable, filter_nearest;

void fragment() {
        vec2 norm_size = size * SCREEN_PIXEL_SIZE;
        bool half = mod(SCREEN_UV.y / 2.0, norm_size.y) / norm_size.y < 0.5;
        vec2 uv = SCREEN_UV + vec2(norm_size.x * 0.5 * float(half), 0.0);
        vec2 center_uv = floor(uv / norm_size) * norm_size;
        vec2 norm_uv = mod(uv, norm_size) / norm_size;
        center_uv += mix(vec2(0.0, 0.0),
                         mix(mix(vec2(norm_size.x, -norm_size.y),
                                 vec2(0.0, -norm_size.y),
                                 float(norm_uv.x < 0.5)),
                             mix(vec2(0.0, -norm_size.y),
                                 vec2(-norm_size.x, -norm_size.y),
                                 float(norm_uv.x < 0.5)),
                             float(half)),
                         float(norm_uv.y < 0.3333333) * float(norm_uv.y / 0.3333333 < (abs(norm_uv.x - 0.5) * 2.0)));

        COLOR = textureLod(screen_texture, center_uv, 0.0);
}
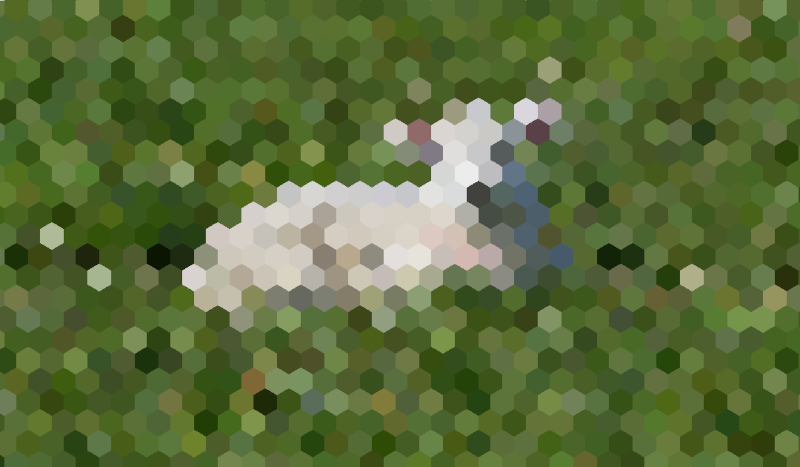
The sheep will look something like this:
多通后期处理
Some post-processing effects like blurs are resource intensive. You can make them run a lot faster if you break them down in multiple passes. In a multipass material, each pass takes the result from the previous pass as an input and processes it.
To produce a multi-pass post-processing shader, you stack CanvasLayer and
ColorRect nodes. In the example above, you use a CanvasLayer object to
render a shader using the frame on the layer below. Apart from the node
structure, the steps are the same as with the single-pass post-processing
shader.
Your scene tree will look something like this:

As an example, you could write a full screen Gaussian blur effect by attaching
the following pieces of code to each of the ColorRect nodes. The order in
which you apply the shaders depends on the position of the CanvasLayer in
the scene tree, higher means sooner. For this blur shader, the order does not
matter.
shader_type canvas_item;

uniform sampler2D screen_texture : hint_screen_texture, repeat_disable, filter_nearest;

// Blurs the screen in the X-direction.
void fragment() {
    vec3 col = texture(screen_texture, SCREEN_UV).xyz * 0.16;
    col += texture(screen_texture, SCREEN_UV + vec2(SCREEN_PIXEL_SIZE.x, 0.0)).xyz * 0.15;
    col += texture(screen_texture, SCREEN_UV + vec2(-SCREEN_PIXEL_SIZE.x, 0.0)).xyz * 0.15;
    col += texture(screen_texture, SCREEN_UV + vec2(2.0 * SCREEN_PIXEL_SIZE.x, 0.0)).xyz * 0.12;
    col += texture(screen_texture, SCREEN_UV + vec2(2.0 * -SCREEN_PIXEL_SIZE.x, 0.0)).xyz * 0.12;
    col += texture(screen_texture, SCREEN_UV + vec2(3.0 * SCREEN_PIXEL_SIZE.x, 0.0)).xyz * 0.09;
    col += texture(screen_texture, SCREEN_UV + vec2(3.0 * -SCREEN_PIXEL_SIZE.x, 0.0)).xyz * 0.09;
    col += texture(screen_texture, SCREEN_UV + vec2(4.0 * SCREEN_PIXEL_SIZE.x, 0.0)).xyz * 0.05;
    col += texture(screen_texture, SCREEN_UV + vec2(4.0 * -SCREEN_PIXEL_SIZE.x, 0.0)).xyz * 0.05;
    COLOR.xyz = col;
}
shader_type canvas_item;

uniform sampler2D screen_texture : hint_screen_texture, repeat_disable, filter_nearest;

// Blurs the screen in the Y-direction.
void fragment() {
    vec3 col = texture(screen_texture, SCREEN_UV).xyz * 0.16;
    col += texture(screen_texture, SCREEN_UV + vec2(0.0, SCREEN_PIXEL_SIZE.y)).xyz * 0.15;
    col += texture(screen_texture, SCREEN_UV + vec2(0.0, -SCREEN_PIXEL_SIZE.y)).xyz * 0.15;
    col += texture(screen_texture, SCREEN_UV + vec2(0.0, 2.0 * SCREEN_PIXEL_SIZE.y)).xyz * 0.12;
    col += texture(screen_texture, SCREEN_UV + vec2(0.0, 2.0 * -SCREEN_PIXEL_SIZE.y)).xyz * 0.12;
    col += texture(screen_texture, SCREEN_UV + vec2(0.0, 3.0 * SCREEN_PIXEL_SIZE.y)).xyz * 0.09;
    col += texture(screen_texture, SCREEN_UV + vec2(0.0, 3.0 * -SCREEN_PIXEL_SIZE.y)).xyz * 0.09;
    col += texture(screen_texture, SCREEN_UV + vec2(0.0, 4.0 * SCREEN_PIXEL_SIZE.y)).xyz * 0.05;
    col += texture(screen_texture, SCREEN_UV + vec2(0.0, 4.0 * -SCREEN_PIXEL_SIZE.y)).xyz * 0.05;
    COLOR.xyz = col;
}
使用上面的代码, 您应该得到如下所示的全屏模糊效果.