Attention: Here be dragons
This is the latest
(unstable) version of this documentation, which may document features
not available in or compatible with released stable versions of Godot.
Checking the stable version of the documentation...
插值
插值是图形编程中一个非常基本的操作. 作为一名图形开发人员, 熟悉它有助于扩展您的视野.
基本思想是从 A 转换到 B。t 值是介于两者之间的状态。
For example, if t is 0, then the state is A. If t is 1, then the state is B. Anything in-between is an interpolation.
Between two real (floating-point) numbers, an interpolation can be described as:
interpolation = A * (1 - t) + B * t
通常简化为:
interpolation = A + (B - A) * t
The name of this type of interpolation, which transforms a value into another at constant speed is "linear". So, when you hear about Linear Interpolation, you know they are referring to this formula.
还有其他类型的插值, 这里将不做讨论. 建议之后阅读 Bezier 页面.
向量插值
Vector types (Vector2 and Vector3) can also be interpolated, they come with handy functions to do it Vector2.lerp() and Vector3.lerp().
对于三次插值,还有 Vector2.cubic_interpolate() 和 Vector3.cubic_interpolate() ,它们执行 Bezier 式插值。
Here is example pseudo-code for going from point A to B using interpolation:
var t = 0.0

func _physics_process(delta):
    t += delta * 0.4

    $Sprite2D.position = $A.position.lerp($B.position, t)
private float _t = 0.0f;

public override void _PhysicsProcess(double delta)
{
    _t += (float)delta * 0.4f;

    Marker2D a = GetNode<Marker2D>("A");
    Marker2D b = GetNode<Marker2D>("B");
    Sprite2D sprite = GetNode<Sprite2D>("Sprite2D");

    sprite.Position = a.Position.Lerp(b.Position, _t);
}
它将产生以下运动:

变换插值
It is also possible to interpolate whole transforms (make sure they have either uniform scale or, at least, the same non-uniform scale). For this, the function Transform3D.interpolate_with() can be used.
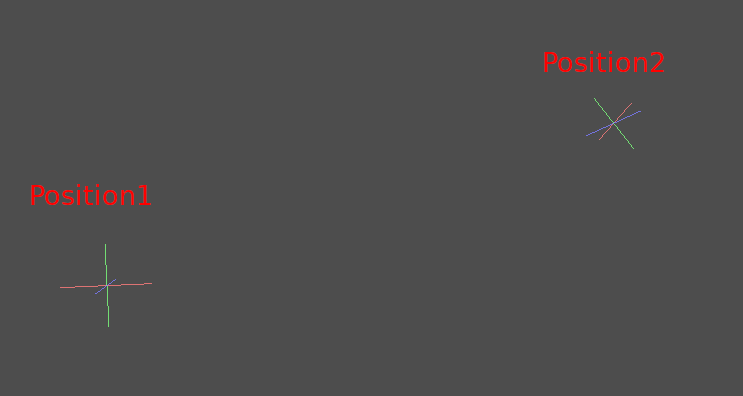
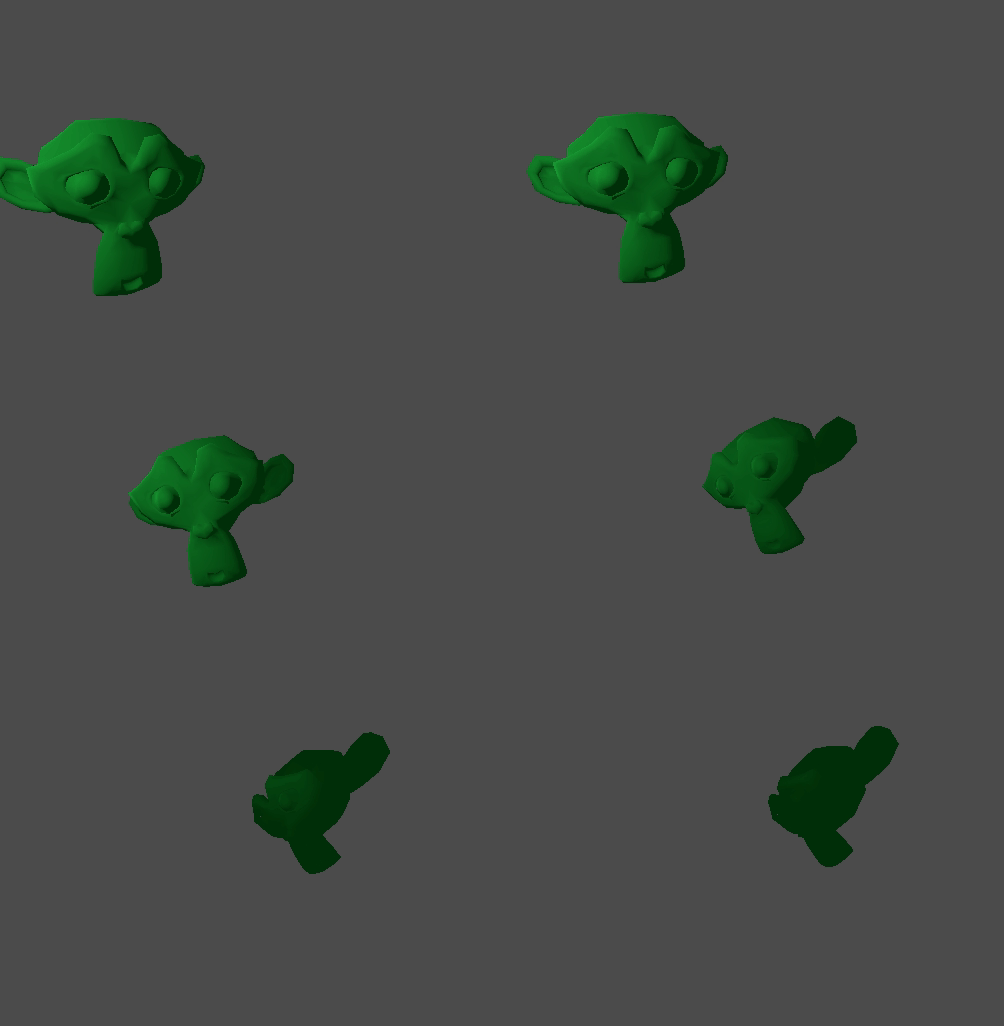
下面是将猴子从位置1转换为位置2的例子:

使用以下伪代码:
var t = 0.0

func _physics_process(delta):
    t += delta

    $Monkey.transform = $Position1.transform.interpolate_with($Position2.transform, t)
private float _t = 0.0f;

public override void _PhysicsProcess(double delta)
{
    _t += (float)delta;

    Marker3D p1 = GetNode<Marker3D>("Position1");
    Marker3D p2 = GetNode<Marker3D>("Position2");
    CSGMesh3D monkey = GetNode<CSGMesh3D>("Monkey");

    monkey.Transform = p1.Transform.InterpolateWith(p2.Transform, _t);
}
又会产生下面的动作:

平滑运动
插值可用于平滑运动, 旋转等. 下面是使用平滑运动跟随鼠标的圆圈的例子:
const FOLLOW_SPEED = 4.0

func _physics_process(delta):
    var mouse_pos = get_local_mouse_position()

    $Sprite2D.position = $Sprite2D.position.lerp(mouse_pos, delta * FOLLOW_SPEED)
private const float FollowSpeed = 4.0f;

public override void _PhysicsProcess(double delta)
{
    Vector2 mousePos = GetLocalMousePosition();

    Sprite2D sprite = GetNode<Sprite2D>("Sprite2D");

    sprite.Position = sprite.Position.Lerp(mousePos, (float)delta * FollowSpeed);
}
如下:

这对平滑相机运动很有用, 队友在跟随你(确保他们保持在一定范围内), 以及许多其他常见的游戏模式.