Attention: Here be dragons
This is the latest
(unstable) version of this documentation, which may document features
not available in or compatible with released stable versions of Godot.
Checking the stable version of the documentation...
Using the Project Manager
When you launch Godot, the first window you see is the Project Manager. It lets you create, remove, import, or play game projects.
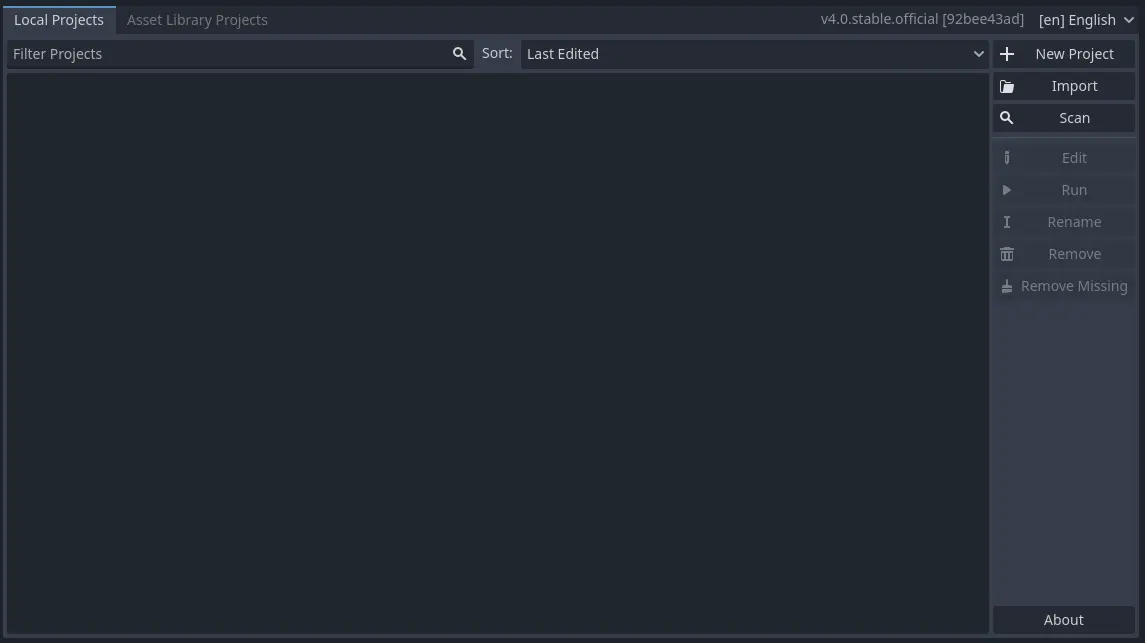
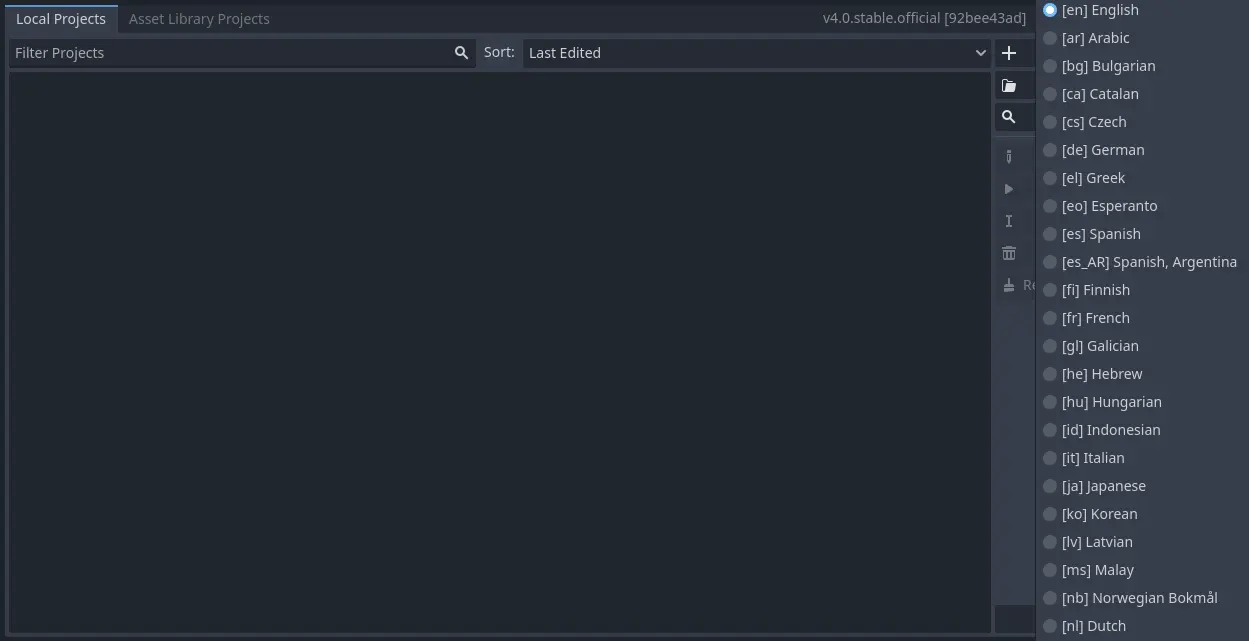
In the window's top-right corner, a drop-down menu allows you to change the editor's language.
Creating and importing projects
To create a new project:
Click the
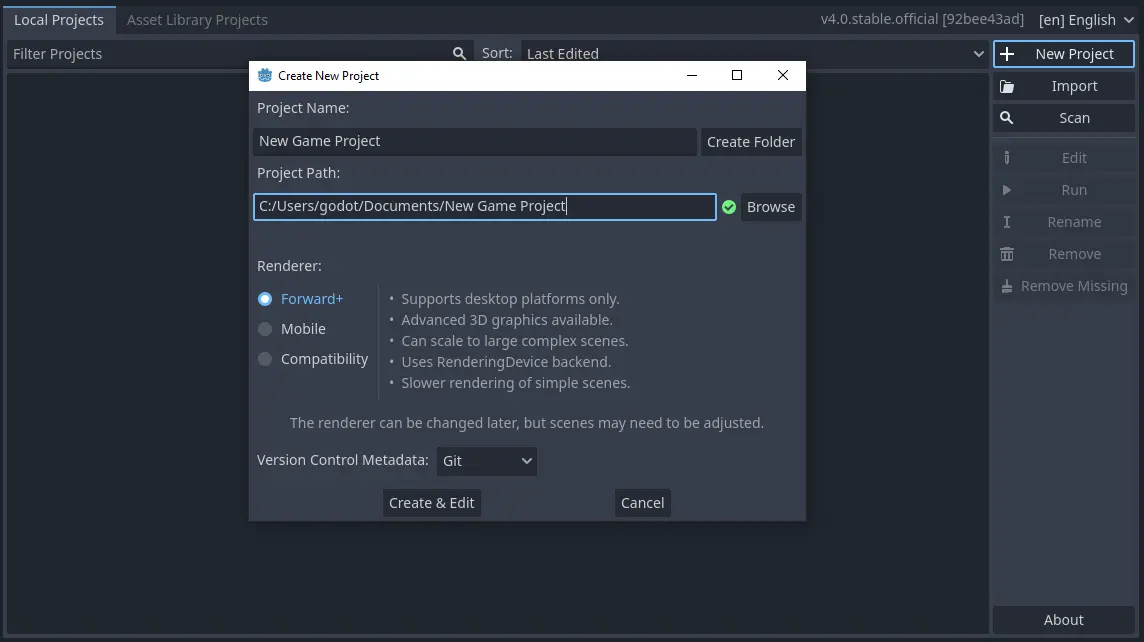
New Projectbutton on the right of the window.Give the project a name, choose an empty folder on your computer to save the files, and select a rendering backend.
Click the Create & Edit button to create the project folder and open it in the editor.
Using the file browser
Click the Browse button to open Godot's file browser and pick a location or type the folder's path in the Project Path field.
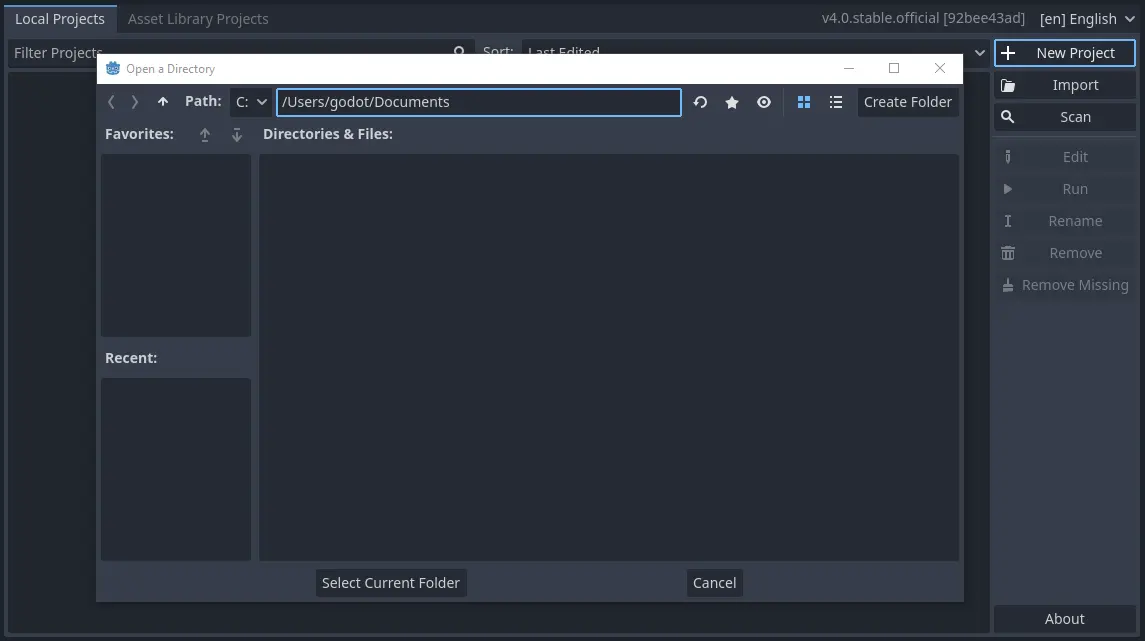
When you see the green tick on the right, it means the engine detects an empty
folder. You can also click the Create Folder button to create an empty
folder based on your project's name.
Opening and importing projects
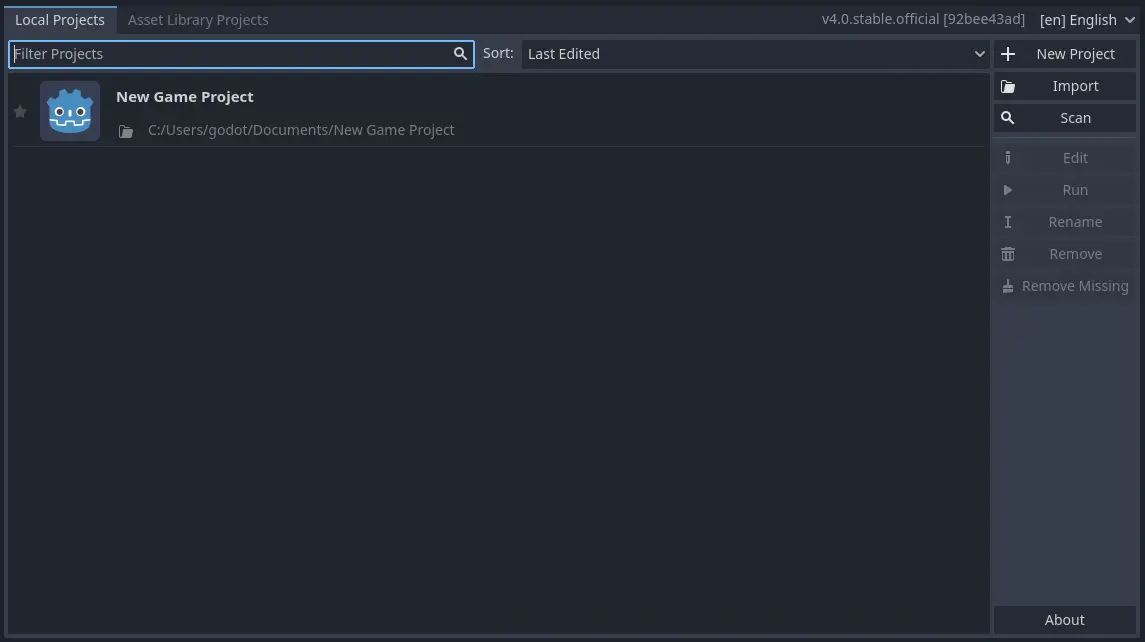
The next time you open the Project Manager, you'll see your new project in the list. Double click on it to open it in the editor.
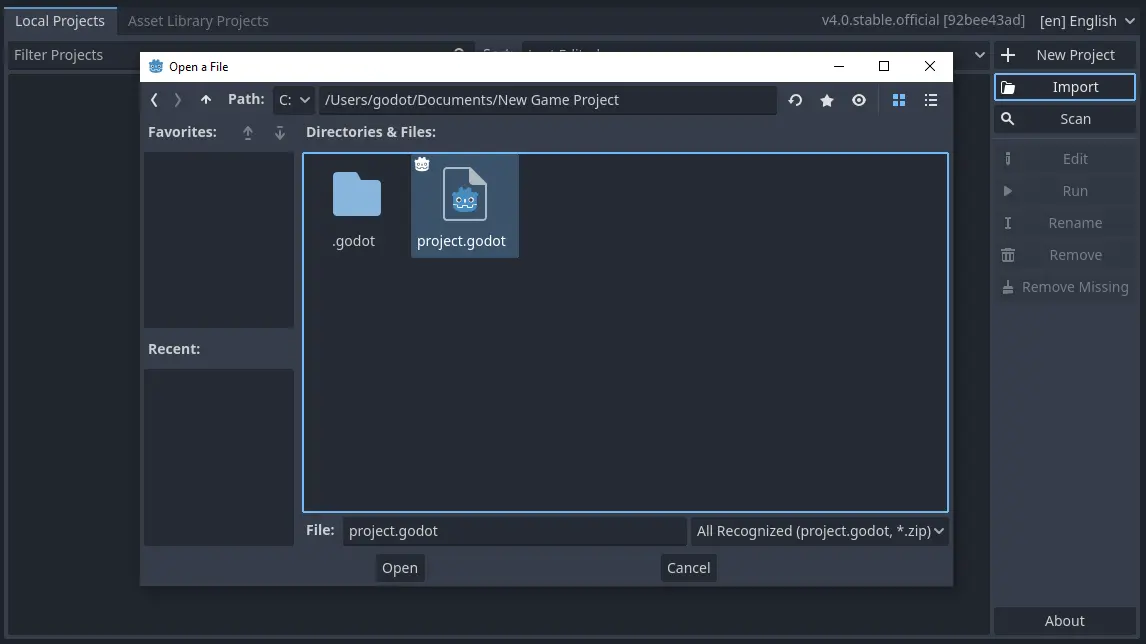
You can similarly import existing projects using the Import button. Locate the
folder that contains the project or the project.godot file to import and
edit it.
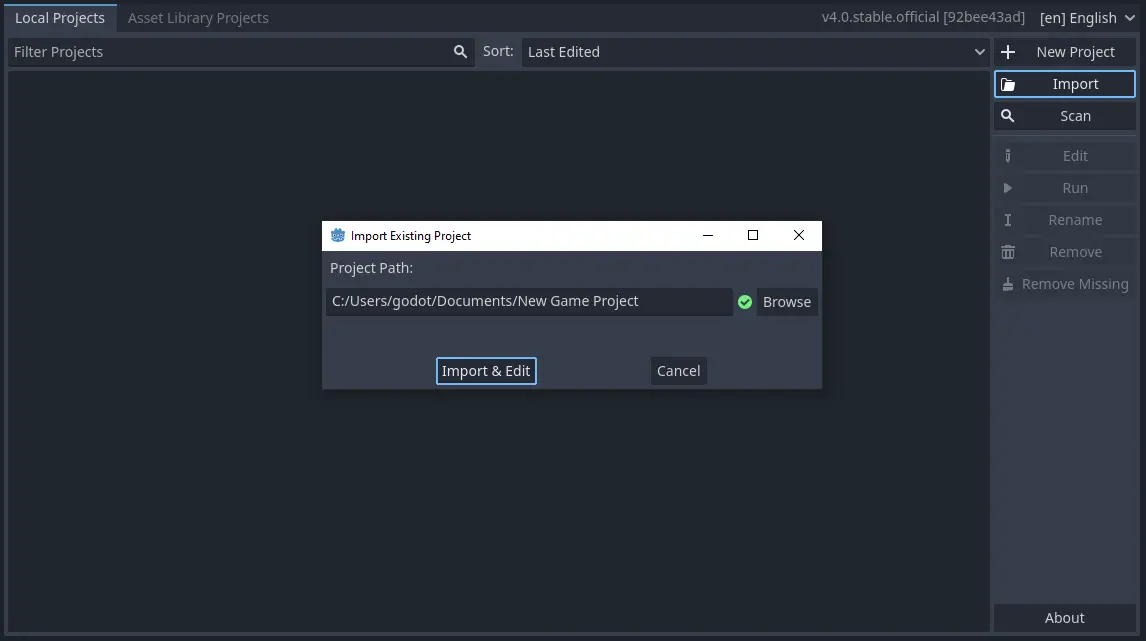
When the folder path is correct, you'll see a green checkmark.
Downloading demos and templates
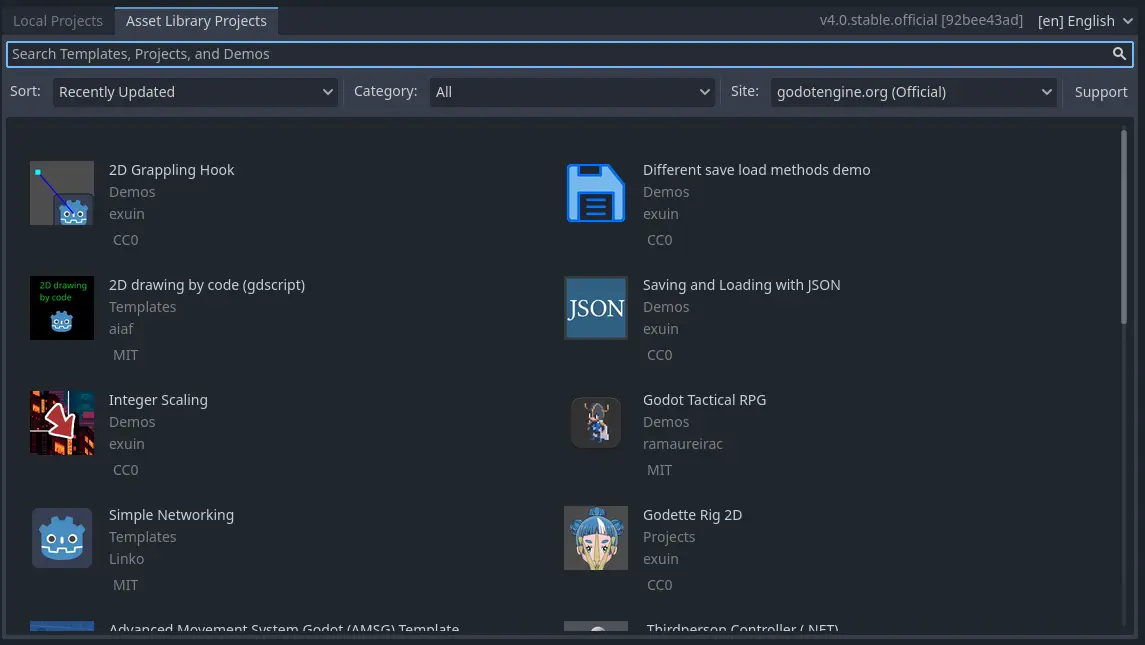
From the Asset Library Projects tab you can download open source project templates and demos from the Asset Library to help you get started faster.
To download a demo or template:
Click on its title.
On the page that opens, click the download button.
Once it finished downloading, click install and choose where you want to save the project.
