Attention: Here be dragons
This is the latest
(unstable) version of this documentation, which may document features
not available in or compatible with released stable versions of Godot.
Checking the stable version of the documentation...
2D particle systems
简介
Particle systems are used to simulate complex physical effects, such as sparks, fire, magic particles, smoke, mist, etc.
这个想法是以固定的间隔发射具有固定的寿命的 "粒子". 在其生命周期中, 每个粒子都具有相同的基本行为. 让每个粒子变得不同并提供整体更加 "有机" 外观的是与各个参数相关的 "随机性". 实质上, 创建粒子系统意味着设置基本物理参数, 然后为它们添加随机性.
粒子节点
Godot provides two different nodes for 2D particles, GPUParticles2D and CPUParticles2D. GPUParticles2D is more advanced and uses the GPU to process particle effects. CPUParticles2D is a CPU-driven option with near-feature parity with GPUParticles2D, but lower performance when using large amounts of particles. On the other hand, CPUParticles2D may perform better on low-end systems or in GPU-bottlenecked situations.
While GPUParticles2D is configured via a ParticleProcessMaterial (and optionally with a custom shader), the matching options are provided via node properties in CPUParticles2D (with the exception of the trail settings).
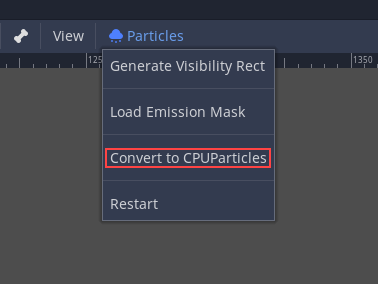
You can convert a GPUParticles2D node into a CPUParticles2D node by clicking on the node in the inspector, and selecting Particles > Convert to CPUParticles2D in the toolbar at the top of the 3D editor viewport.
The rest of this tutorial is going to use the GPUParticles2D node. First, add a GPUParticles2D node to your scene. After creating that node you will notice that only a white dot was created, and that there is a warning icon next to your GPUParticles2D node in the scene dock. This is because the node needs a ParticleProcessMaterial to function.
ParticleProcessMaterial
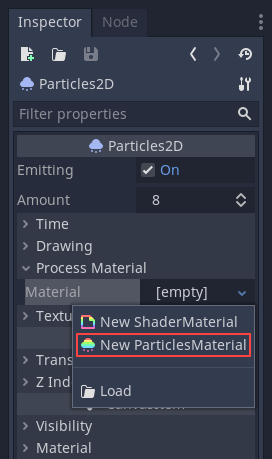
To add a process material to your particles node, go to Process Material in
your inspector panel. Click on the box next to Material, and from the dropdown
menu select New ParticleProcessMaterial.
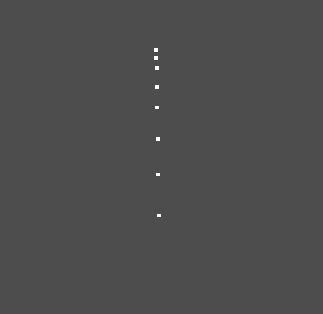
Your GPUParticles2D node should now be emitting white points downward.
Texture (纹理)
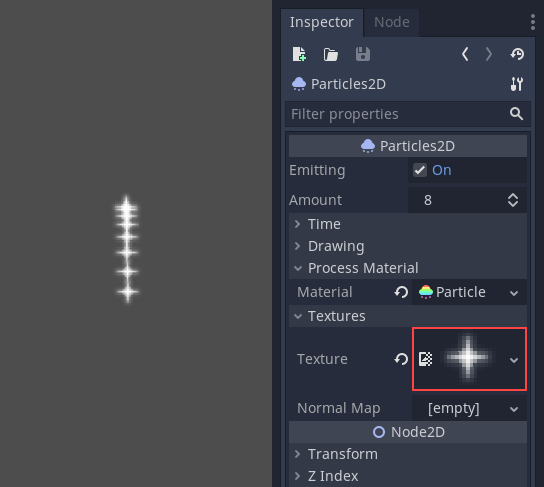
粒子系统只能使用单个纹理(将来可能会通过spritesheet扩展到动画纹理). 纹理通过相关的纹理属性设置:
Time (时间)参数
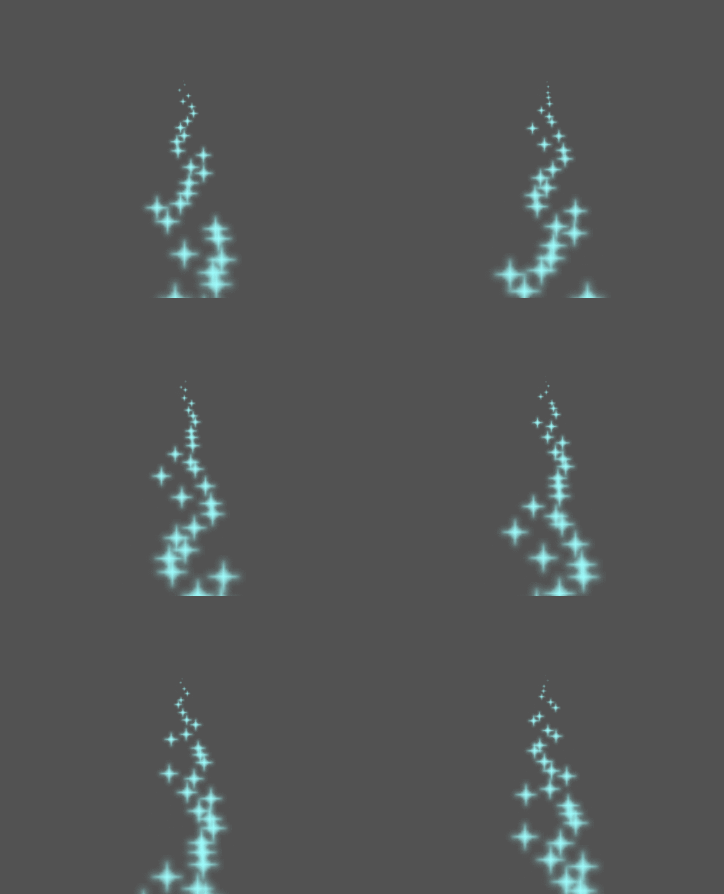
Lifetime(寿命)
每个粒子存活的时间(以秒为单位). 生命周期结束时, 会创建一个新粒子来替换它.
寿命:0.5
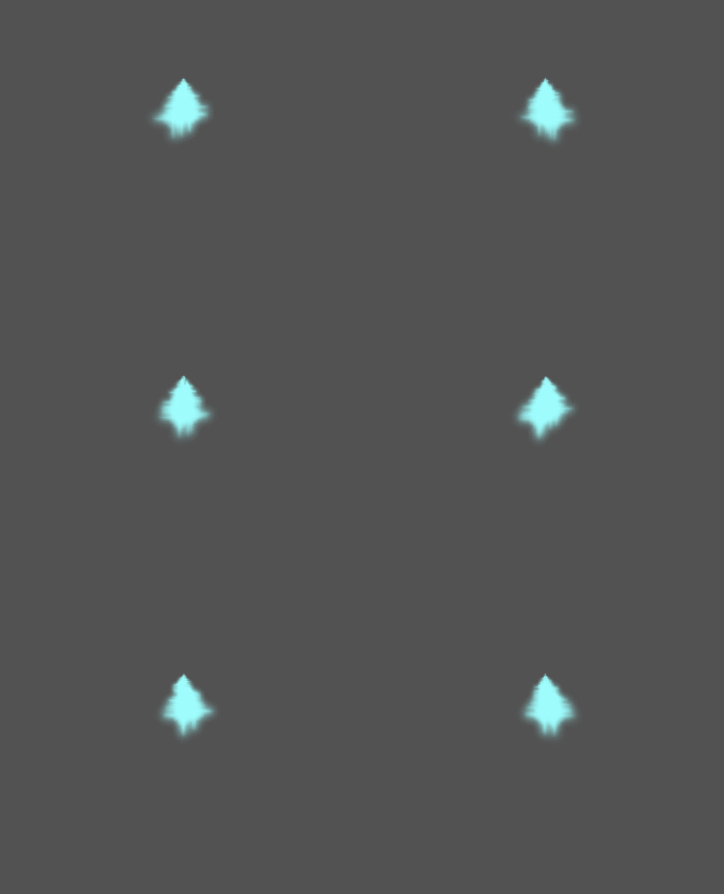
寿命:4.0
One Shot (一次性)
When enabled, a GPUParticles2D node will emit all of its particles once and then never again.
Preprocess(预处理)
粒子系统从没有粒子被发射开始, 然后开始发射. 当加载场景如火炬, 雾等系统时可能会带来不便, 因为它会在进入场景的那一刻开始发射. 预处理用于让系统在第一次实际绘制之前处理给定的秒数.
Speed Scale(速度比例)
速度比例具有默认值 1 , 用于调整粒子系统的速度. 降低值会使粒子变慢, 而增加值会使粒子更快.
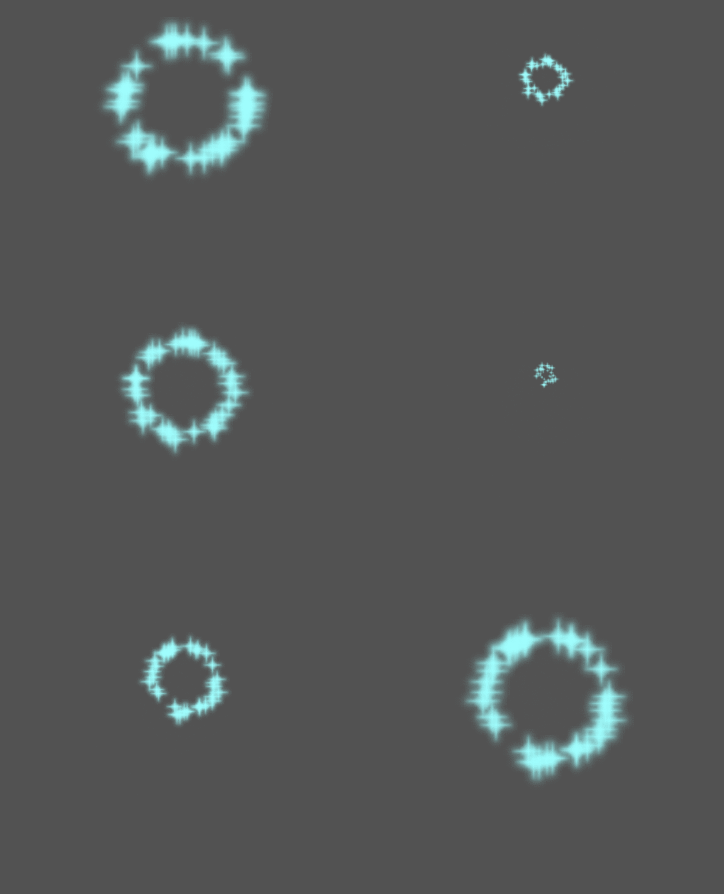
Explosiveness(爆炸性)
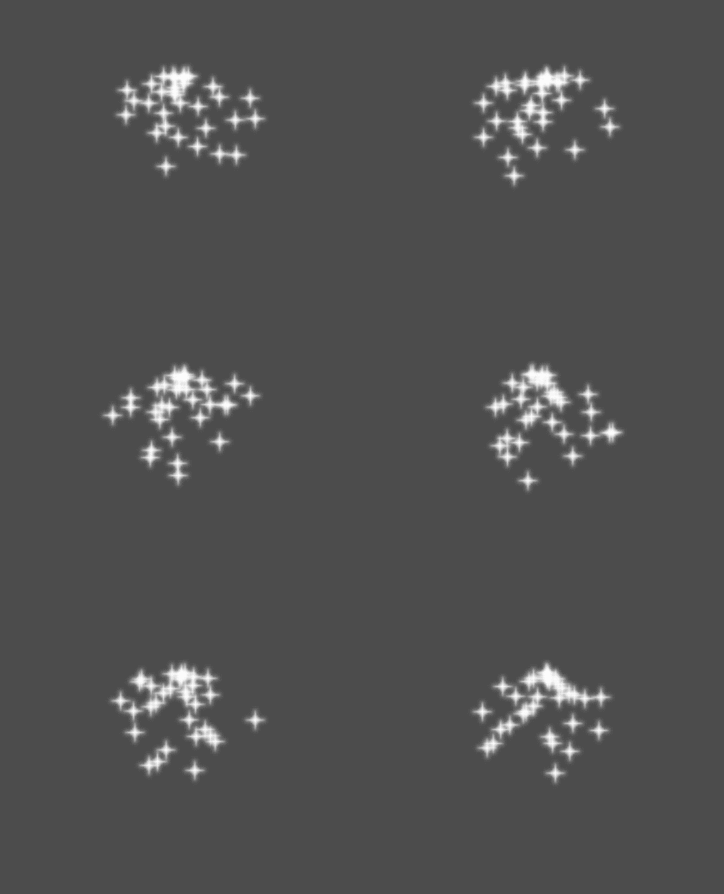
如果有10个寿命为 1 的粒子, 则意味着粒子将每0.1秒发射一次. 爆炸性参数改变了这一点, 并迫使粒子一起发射. 范围是:
0: 定期发射粒子(默认值).
1: 同时发射所有粒子.
中间的值也是允许的. 此功能对于创建爆炸或突然爆发的粒子非常有用:
Randomness(随机性)
所有物理参数都可以随机化. 随机值范围从 0 到 1 . 随机化参数的公式为:
initial_value = param_value + param_value * randomness
Fixed FPS(固定帧率)
此设置可用于将粒子系统设置为以固定的帧率渲染. 例如, 将值更改为 2 将使粒子以每秒2帧的速度渲染. 请注意, 这不会减慢粒子系统本身的速度.
Fract Delta
这可用于打开或关闭Fract Delta.
Drawing parameters (绘图参数)
Visibility Rect(可见性区域)
可见性矩形控制粒子在屏幕上的可见性. 如果此矩形位于视口之外, 则引擎将不会在屏幕上渲染粒子.
矩形的 W 和 H 属性分别控制其宽度和高度. X 和 Y 属性控制矩形左上角相对于粒子发射器的位置.
You can have Godot generate a Visibility Rect automatically using the toolbar above the 2d view. To do so, select the GPUParticles2D node and Click Particles > Generate Visibility Rect. Godot will simulate the Particles2D node emitting particles for a few seconds and set the rectangle to fit the surface the particles take.
你可以使用 Generation Time (sec) 选项控制发射持续时间. 最大值为25秒. 如果您需要更多时间让粒子移动, 您可以暂时更改Particles2D节点上的 preprocess 时间.
Local Coords(局部坐标)
默认情况下, 此选项处于启用状态, 这意味着粒子发射的空间是相对于节点来算的. 如果移动节点, 则所有粒子会随之移动:
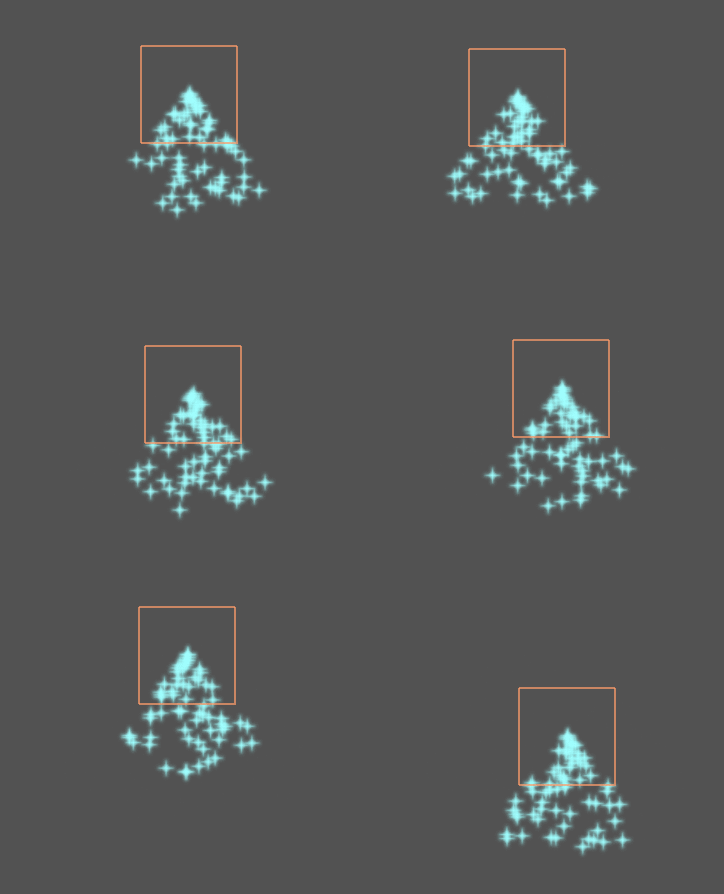
如果禁用, 粒子将发射到全局空间, 这意味着如果移动节点, 则已发射的粒子不会受到影响:
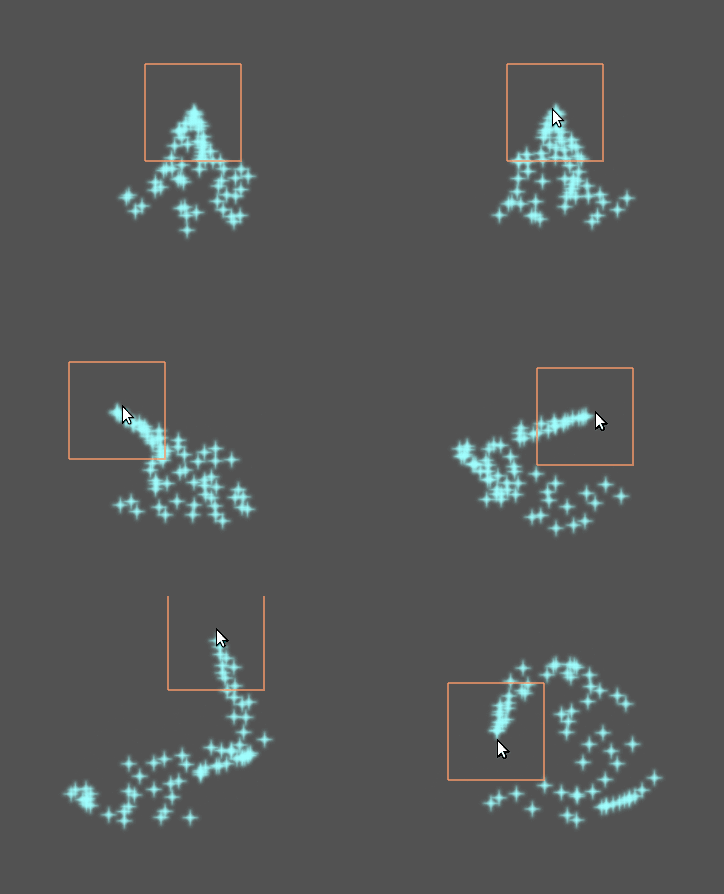
Draw Order(绘图顺序)
这可以控制绘制单个粒子的顺序. Index 表示粒子根据它们的发射顺序被绘制(默认). Lifetime 表示它们按照剩余寿命的顺序被绘制.
ParticleProcessMaterial settings
方向
这是粒子发射的基础方向. 默认值是 Vector3(1,0,0) , 它使粒子向右发射. 然而, 在默认的重力设置下, 粒子会直线下降.
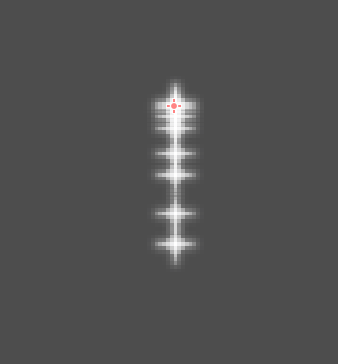
为了让这个属性作用更明显, 你需要一个大于0的 初始速度(initial velocity) . 这里, 我们把初始速度设为40. 你会注意到粒子向右发射, 然后受重力作用下降.
Spread(铺开角度)
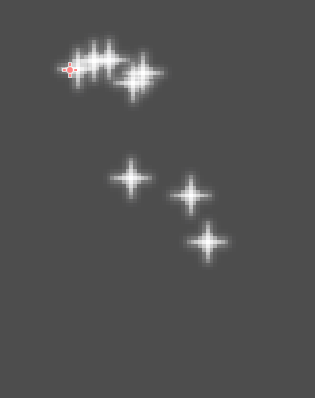
此参数是以度为单位的角度, 它会被随机加减到基础 Direction 上. 180 的铺开角度将向所有方向发射(+/- 180).
Flatness(平直度)
这个属性只对3D粒子有用.
Gravity(重力)
应用于每个粒子上的重力.
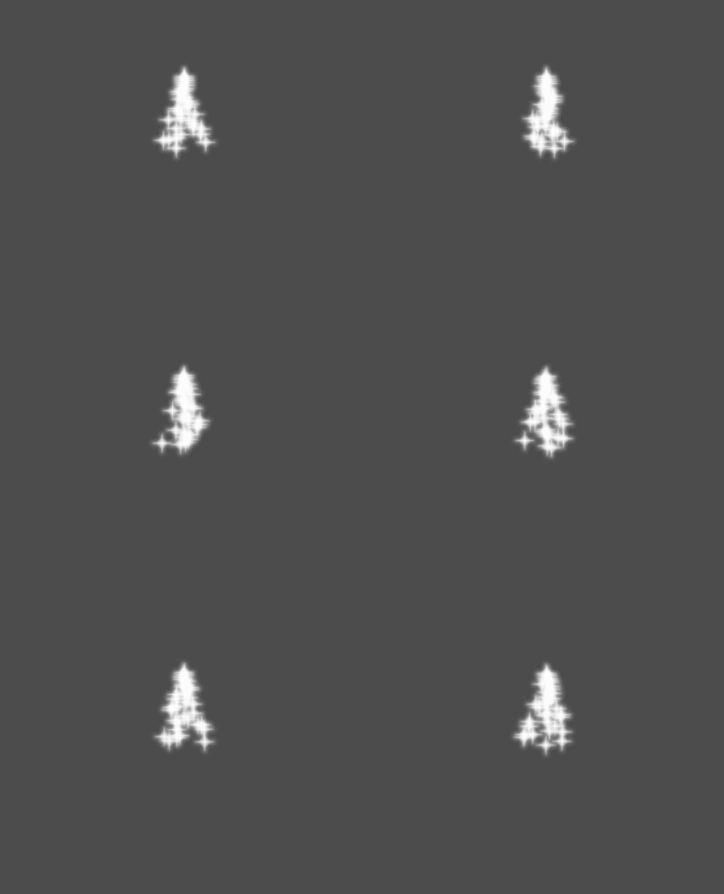
Initial Velocity(初始速度)
初始速度是粒子发射的速度(单位为像素/秒)。以后可以通过重力或其他加速度来修改速度(后述)。
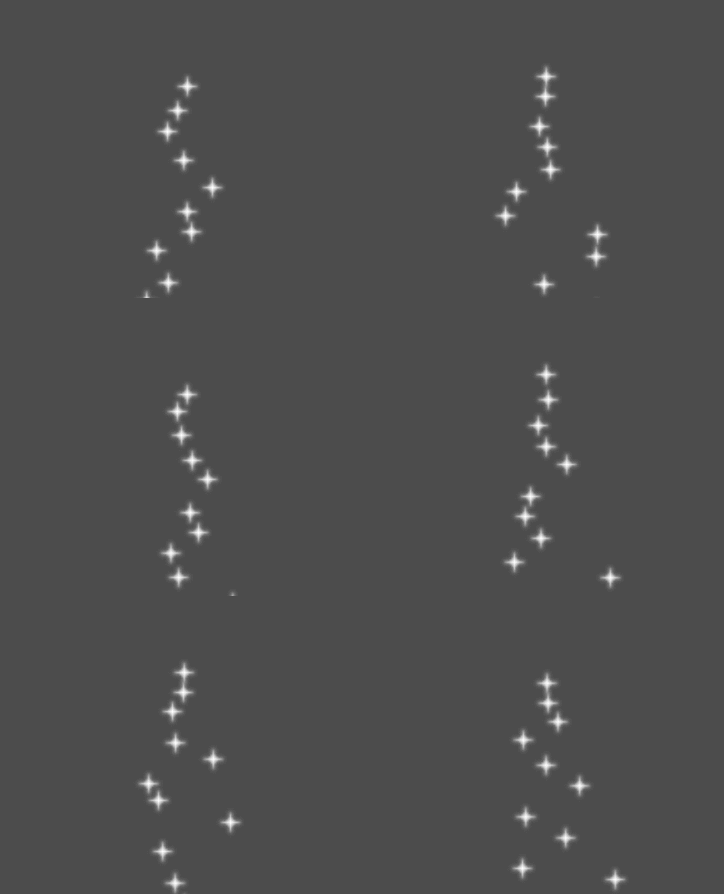
Angular Velocity(角速度)
角速度是应用于粒子的初始角速度.
Spin Velocity(旋转速度)
旋转速度是粒子围绕其中心转动的速度(以度/秒为单位).
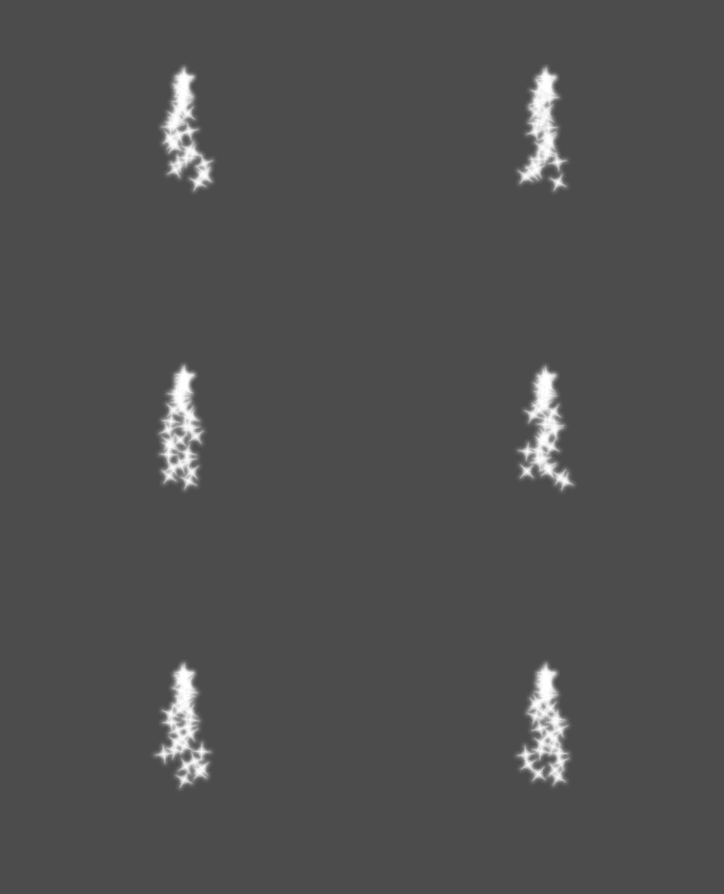
Orbit Velocity(环绕速度)
环绕速度速度用于使粒子绕它们的中心转动.
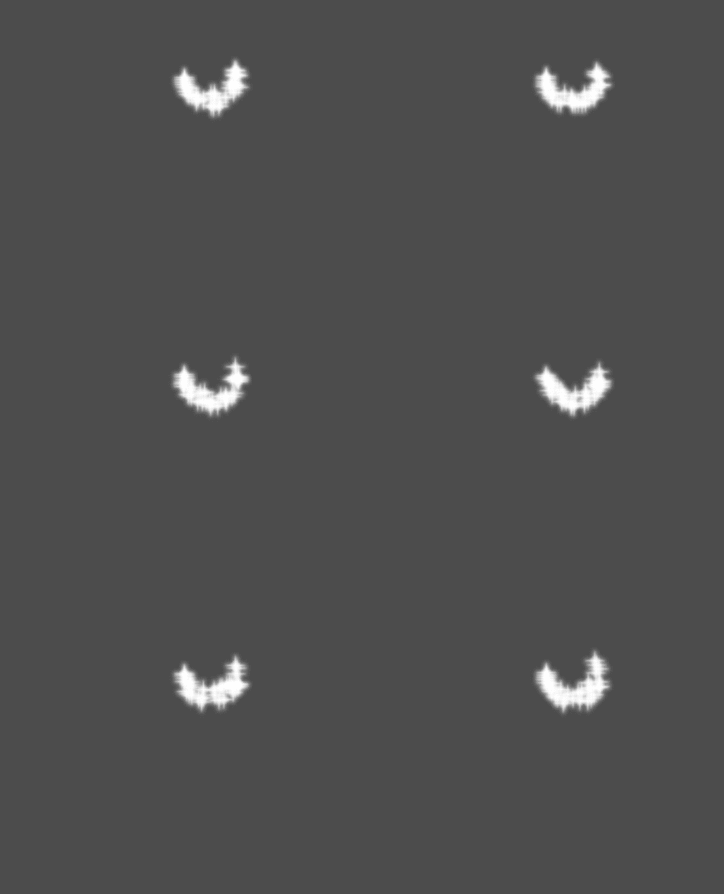
Linear Acceleration(线性加速度)
应用于每个粒子的线性加速度.
Radial Acceleration(径向加速度)
如果此加速度为正, 则粒子会向远离发射中心加速. 如果是负的, 他们会被加速吸进去.
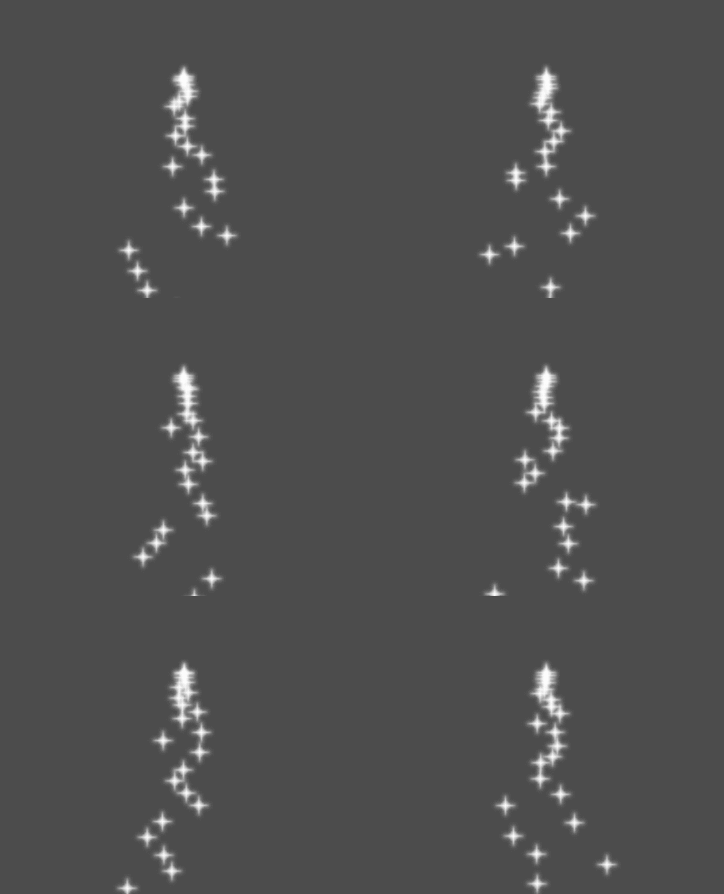
Tangential Acceleration(切向加速度)
该加速度会使用从粒子到中心点的切向量, 结合径向加速度可以做出很酷炫的效果.
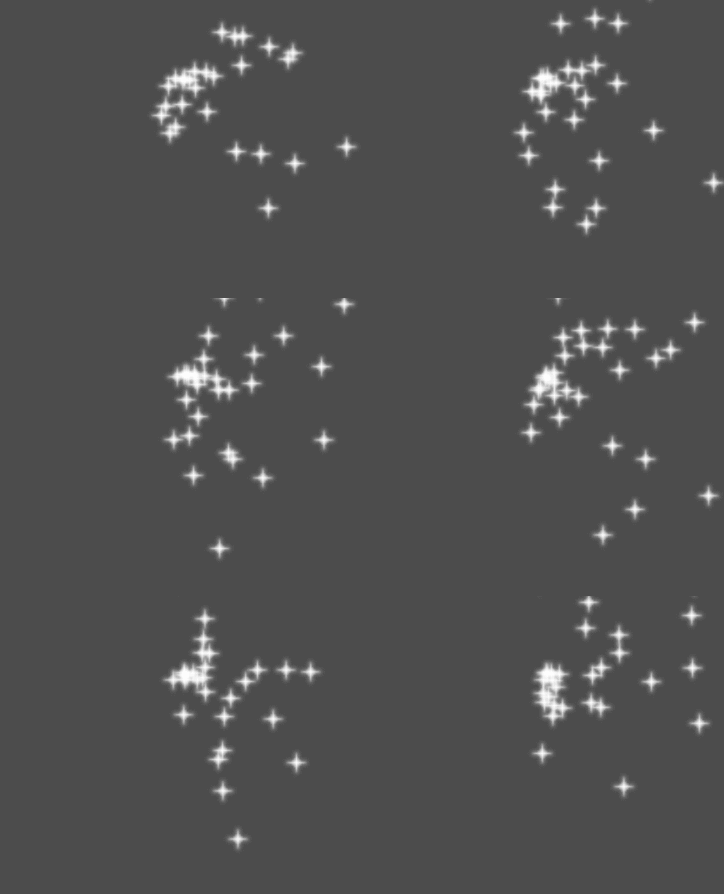
Damping(阻尼)
阻尼选项会对颗粒施加摩擦力, 迫使它们停止. 它特别适用于火花或爆炸, 火花或爆炸通常以高线速度开始, 然后在他们隐去时停下来.
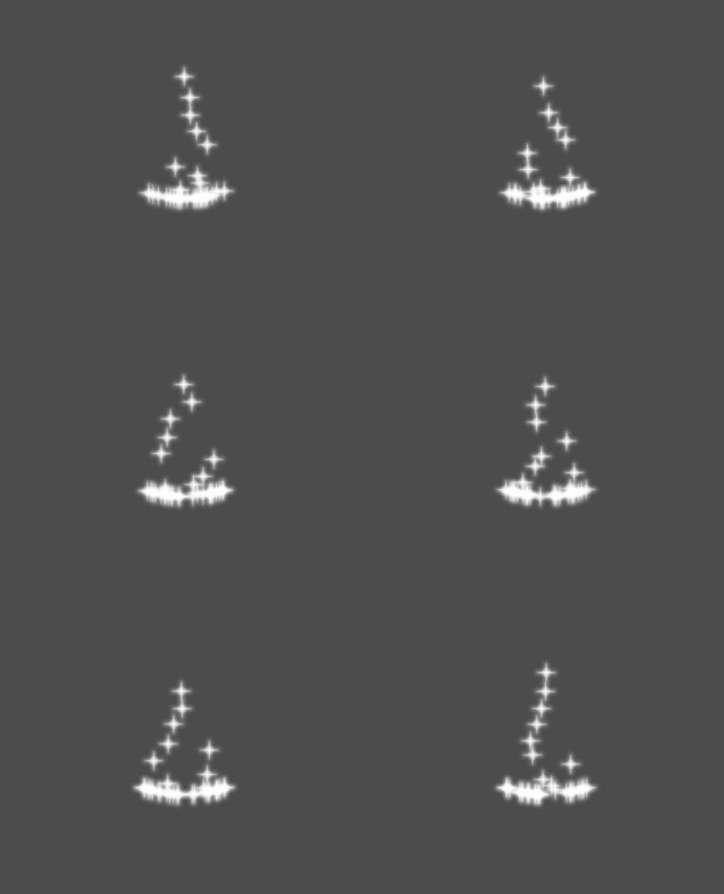
Angle(角度)
确定粒子的初始角度(以度为单位). 该参数通常在随机化后会有用.
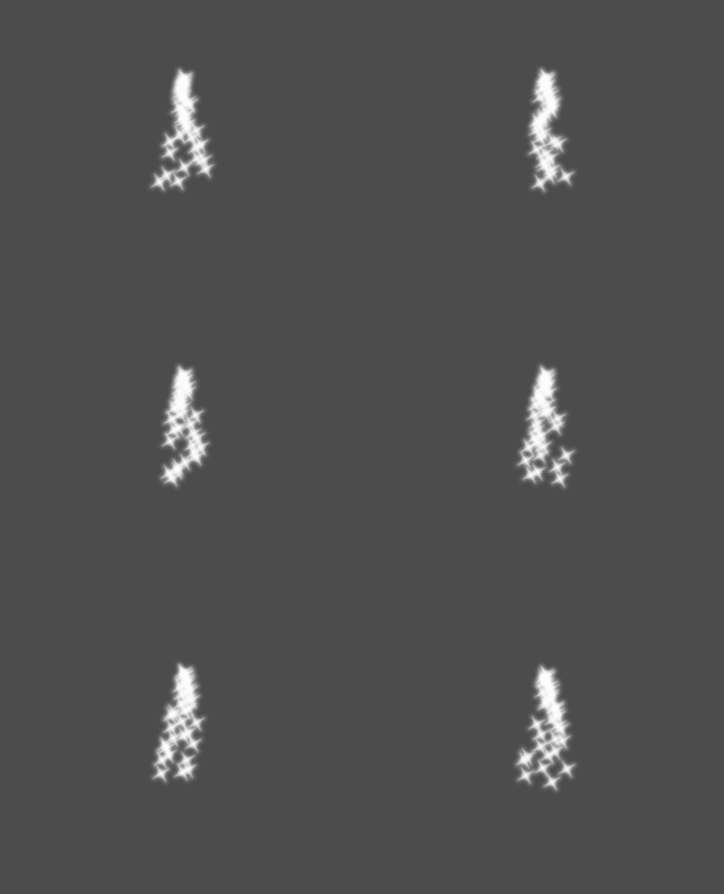
Scale(大小)
确定粒子的初始大小.
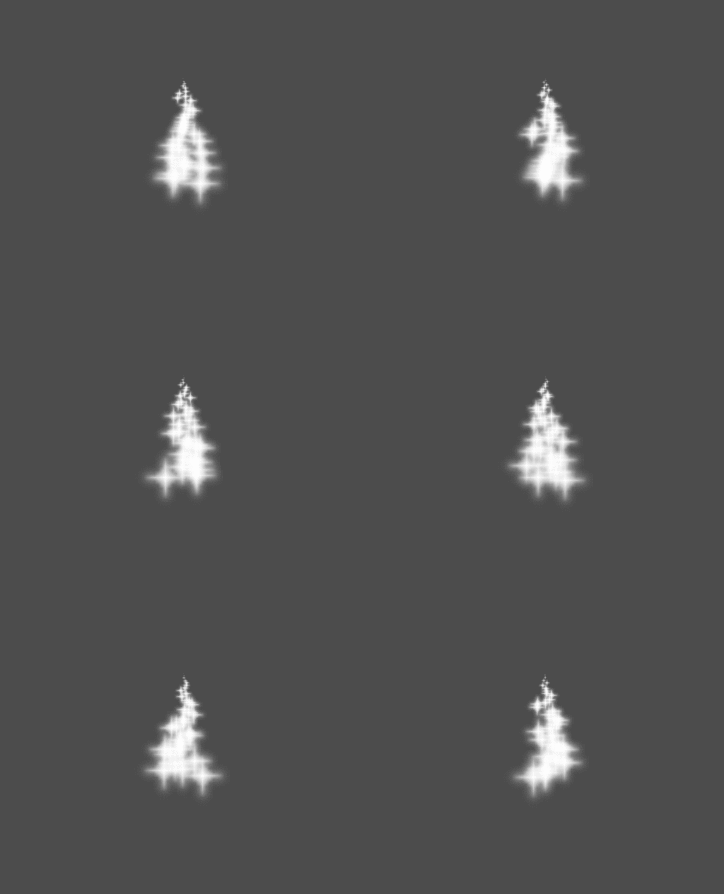
颜色
用于改变发射出来的粒子颜色.
Hue Variation(色调变化)
Variation 值设置的是应用于每个粒子的初始色调变化. Variation Rand 值控制色调变化的随机性比率.
Emission Shapes(发射形状)
ParticleProcessMaterials allow you to set an Emission Mask, which dictates the area and direction in which particles are emitted. These can be generated from textures in your project.
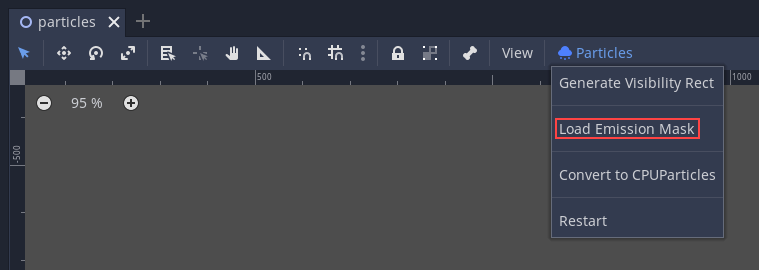
Ensure that a ParticleProcessMaterial is set, and the GPUParticles2D node is selected. A "Particles" menu should appear in the Toolbar:

打开它, 选择"加载 Emission Mask(发射遮挡)":
然后选择你想要用作遮挡的纹理:
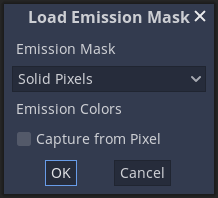
会出现一个具有多个设置的对话框.
发射遮罩
纹理可以生成三种类型的发射遮挡:
Solid Pixels(实心像素): 粒子将从纹理的任何区域产生, 透明区域除外.
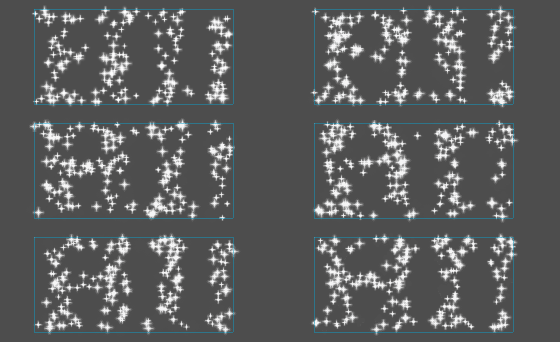
Border Pixels(边界像素): 粒子将从纹理的外边缘产生.
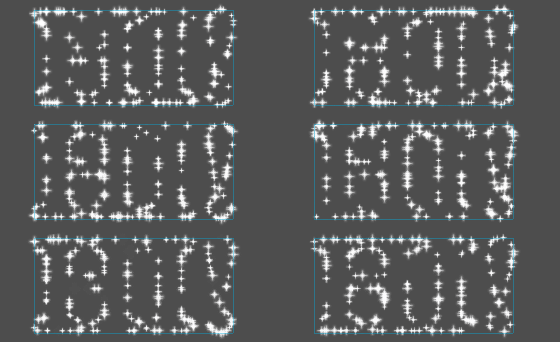
Directed Border Pixels(定向边界像素): 类似于边界像素, 在遮罩中添加额外的信息, 使粒子能够从边缘发射出去. 请注意, 想要使用它, 需要设置一个
初始速度.
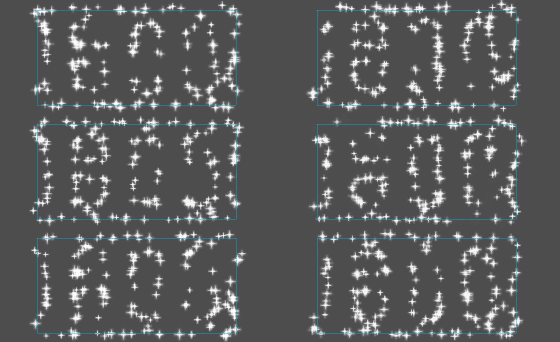
发射色彩
Capture from Pixel 会使粒子在其产生点处继承遮挡材质的颜色.
Once you click "OK", the mask will be generated and set to the ParticleProcessMaterial, under the Emission Shape section:
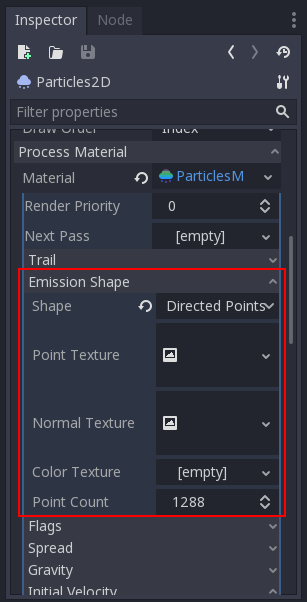
这个部分所有提到的值, "加载Emission Mask(发射遮挡)"菜单都会自动生成, 所以通常他们放着不管就可以了.
备注
不应该直接添加图像到 Point Texture 或 Color Texture 中. 应该始终使用"加载Emisson Mask(发射遮挡)"菜单.