Attention: Here be dragons
This is the latest
(unstable) version of this documentation, which may document features
not available in or compatible with released stable versions of Godot.
Checking the stable version of the documentation...
设置游戏区域
在第一部分中,我们将设置游戏区域。让我们从导入初始资产、设置游戏场景入手。
We've prepared a Godot project with the 3D models and sounds we'll use for this tutorial, linked in the index page. If you haven't done so yet, you can download the archive here: Squash the Creeps assets.
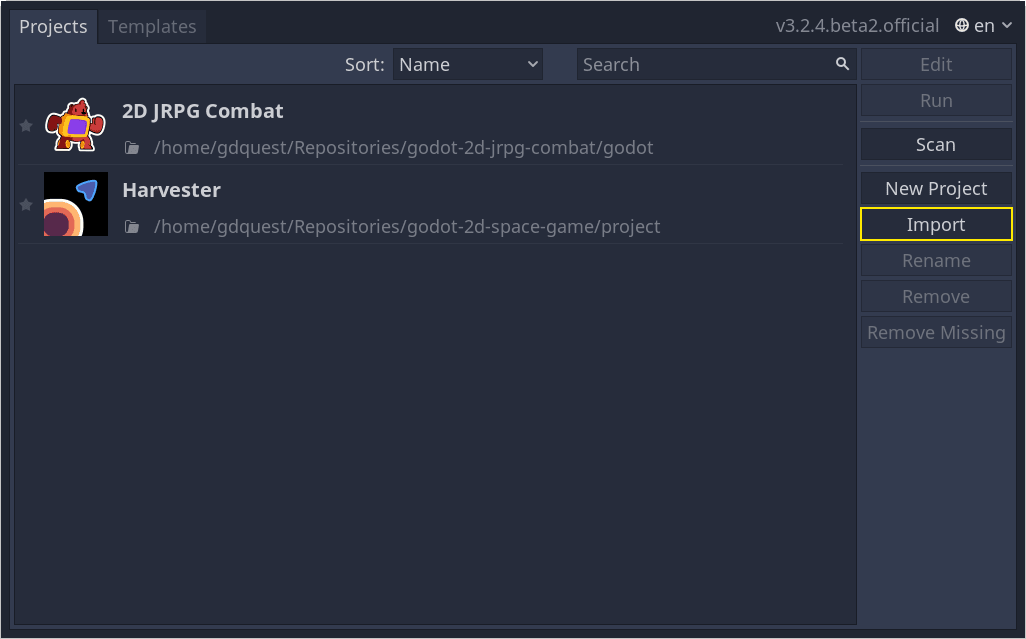
Once you downloaded it, extract the .zip archive on your computer. Open the Godot Project Manager and click the Import button.
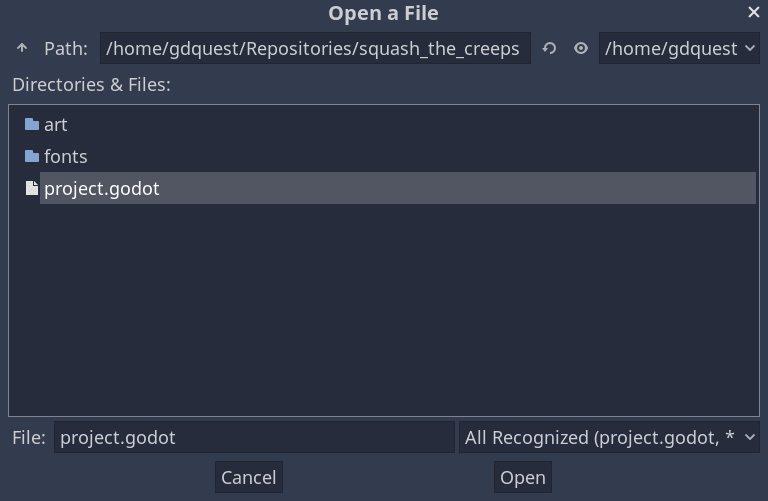
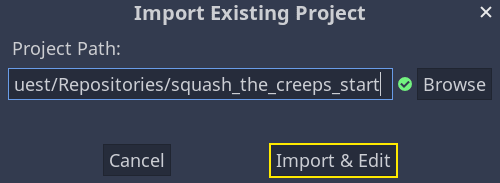
请在导入弹出框中输入刚才新建的目录 squash_the_creeps_start/ 的完整路径。你也可以点击右侧的浏览按钮,打开文件浏览器并找到该文件夹所包含的 project.godot 文件。
点击导入并编辑在编辑器中打开该项目。
起始项目中包含一个图标和两个文件夹:art/ 和 fonts/。你可以在里面找到游戏中我们会用到的艺术资产和音乐。
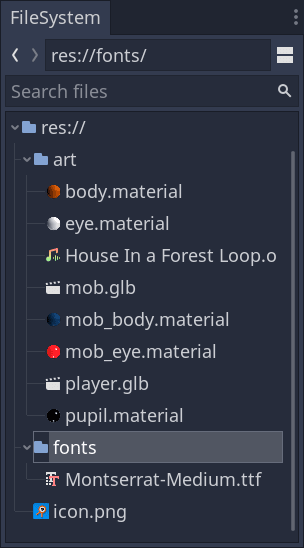
里面有两个 3D 模型,player.glb 和 mob.glb,一些模型使用的材质,以及一首音乐。
设置游玩区域
We're going to create our main scene with a plain Node as its root. In the
Scene dock, click the Add Child Node button represented by a "+" icon in the
top-left and double-click on Node. Name the node Main. An alternate method to rename the node is to right-click on Node and choose Rename (or F2). Alternatively, to add
a node to the scene, you can press Ctrl + a (or Cmd + a on macOS).
Save the scene as main.tscn by pressing Ctrl + s (Cmd + s on macOS).
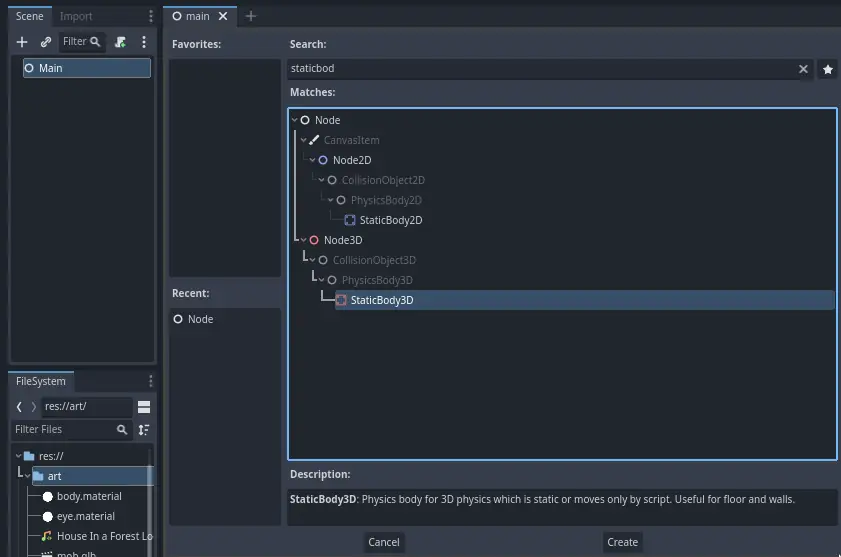
We'll start by adding a floor that'll prevent the characters from falling. To
create static colliders like the floor, walls, or ceilings, you can use StaticBody3D nodes. They require CollisionShape3D child nodes to
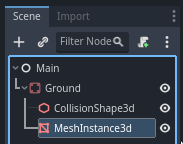
define the collision area. With the Main node selected, add a StaticBody3D
node, then a CollisionShape3D. Rename the StaticBody3D to Ground.
Your scene tree should look like this

A warning sign next to the CollisionShape3D appears because we haven't defined its shape. If you click the icon, a popup appears to give you more information.

To create a shape, select the CollisionShape3D node, head to the Inspector and click the <empty> field next to the Shape property. Create a new BoxShape3D.
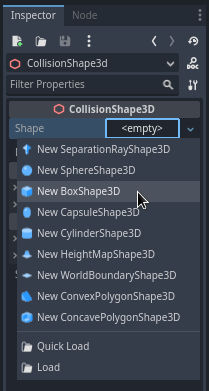
盒子形状非常适合平坦的地面和墙壁。它的厚度使它能够可靠地阻挡甚至快速移动的物体。
A box's wireframe appears in the viewport with three orange dots. You can click
and drag these to edit the shape's extents interactively. We can also precisely
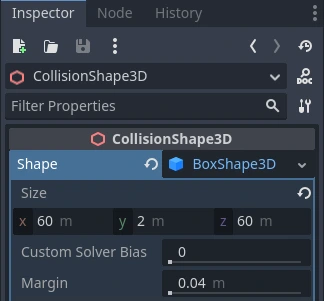
set the size in the inspector. Click on the BoxShape3D to expand the resource.
Set its Size to 60 on the X axis, 2 for the Y axis, and 60 for
the Z axis.
Collision shapes are invisible. We need to add a visual floor that goes along
with it. Select the Ground node and add a MeshInstance3D as its child.
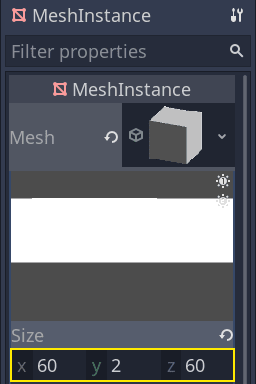
In the Inspector, click on the field next to Mesh and create a BoxMesh resource to create a visible box.
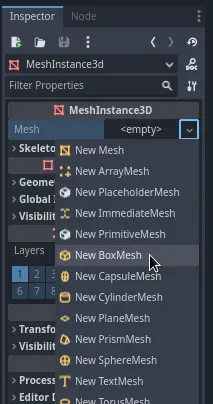
Once again, it's too small by default. Click the box icon to expand the
resource and set its Size to 60, 2, and 60.
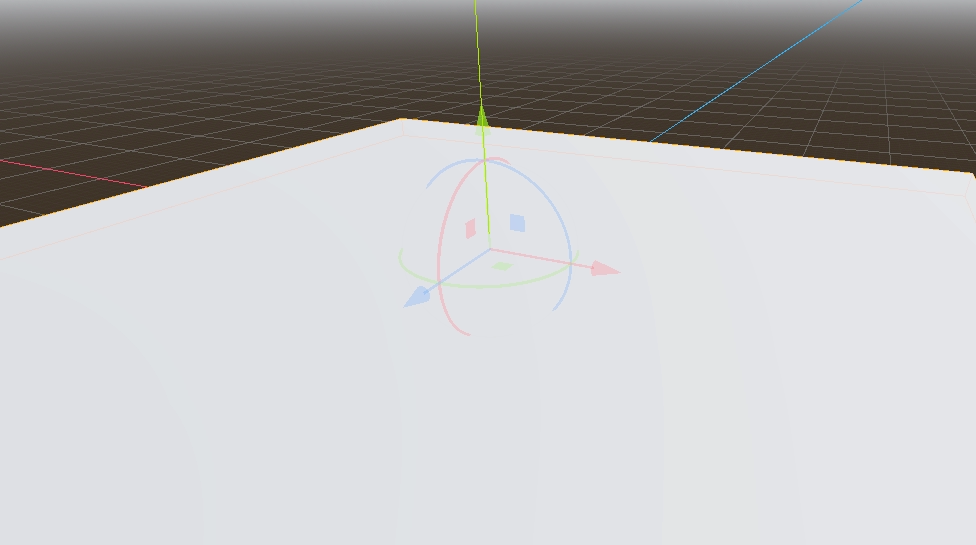
您应该会在视口中看到一个覆盖网格以及蓝色和红色轴的宽灰色平板。
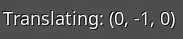
We're going to move the ground down so we can see the floor grid. Select the
Ground node, hold the Ctrl key down to turn on grid snapping,
and click and drag down on the Y axis. It's the green arrow in the move gizmo.
备注
如果你没有看到如上图所示的 3D 对象操作器,请确保已激活视图上方工具栏中的选择模式。
Move the ground down 1 meter, in order to have a visible editor grid. A label in the bottom-left corner of the
viewport tells you how much you're translating the node.
备注
Moving the Ground node down moves both children along with it. Ensure you move the Ground node, not the MeshInstance3D or the CollisionShape3D.
Ultimately, Ground's transform.position.y should be -1
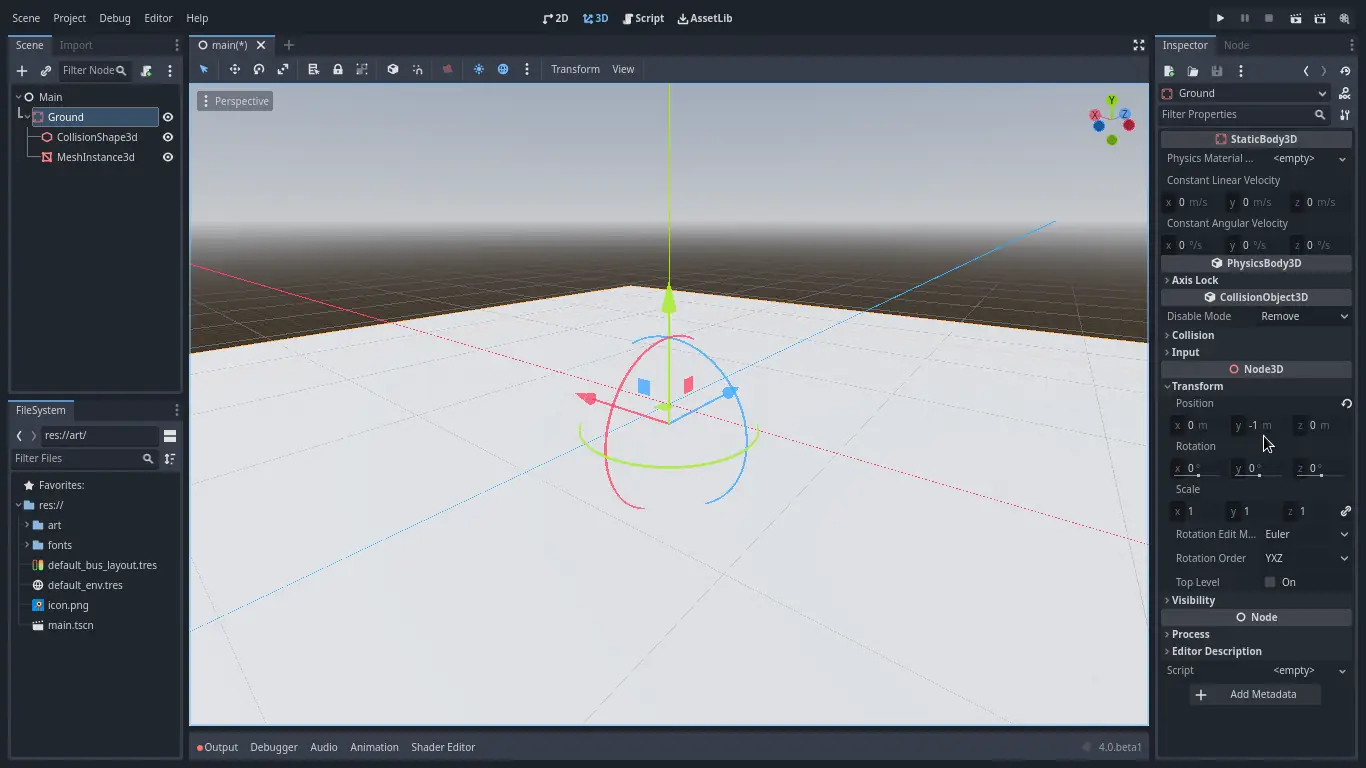
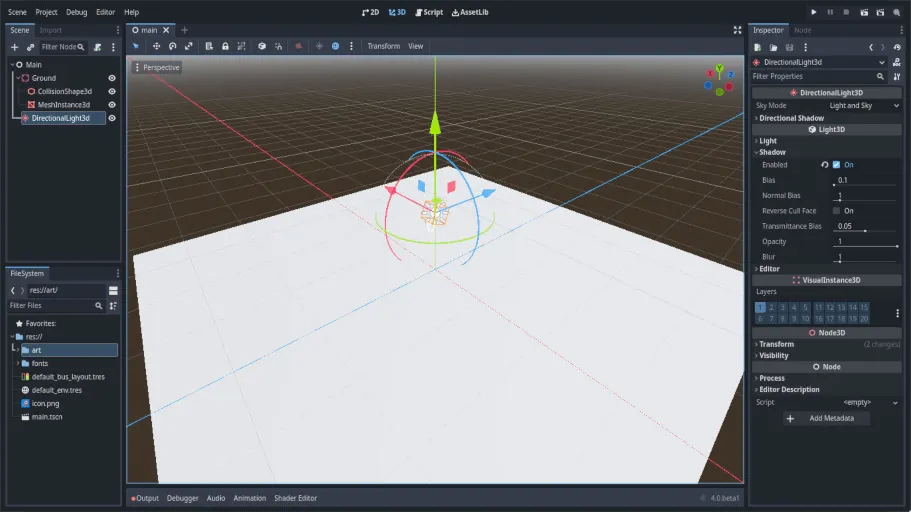
Let's add a directional light so our scene isn't all grey. Select the Main
node and add a child node DirectionalLight3D.
We need to move and rotate the DirectionalLight3D node. Move it up by clicking and dragging on the manipulator's green arrow and click and drag on the red arc to rotate it around the X axis, until the ground is lit.
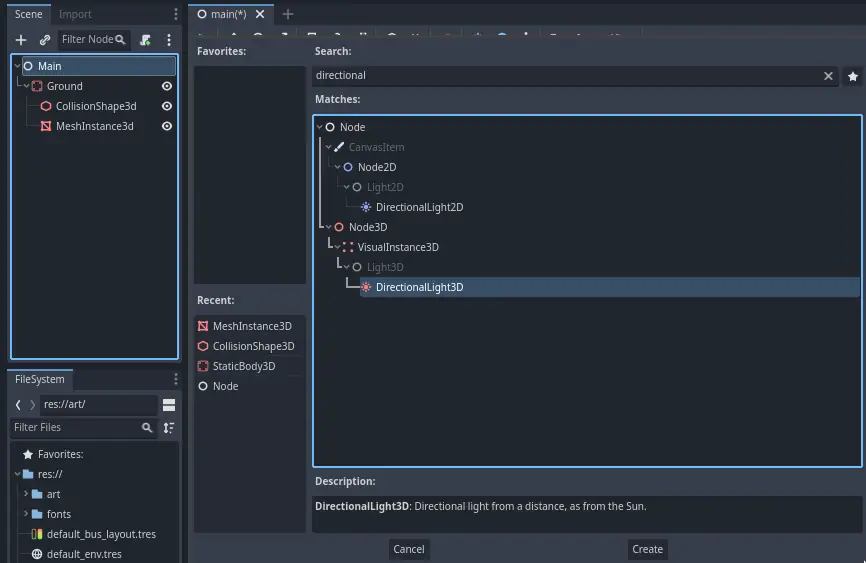
在检查器中,勾选复选框打开Shadow -> Enabled。
项目此时看起来是这个样子。
这就是我们的起点了。在下一部分中,我们将处理玩家场景与基础移动。