Attention: Here be dragons
This is the latest
(unstable) version of this documentation, which may document features
not available in or compatible with released stable versions of Godot.
Checking the stable version of the documentation...
动画功能介绍
AnimationPlayer 节点允许您创建从简单到复杂的任何动画。
在本指南中,您将学会:
使用动画面板
使任何节点的任何属性变成动画
创建简单的动画
In Godot, you can animate anything available in the Inspector, such as Node transforms, sprites, UI elements, particles, visibility and color of materials, and so on. You can also modify values of script variables and even call functions.
创建 AnimationPlayer 节点
要使用动画工具, 我们首先必须创建一个 AnimationPlayer 节点.
The AnimationPlayer node type is the data container for your animations. One AnimationPlayer node can hold multiple animations, which can automatically transition to one another.
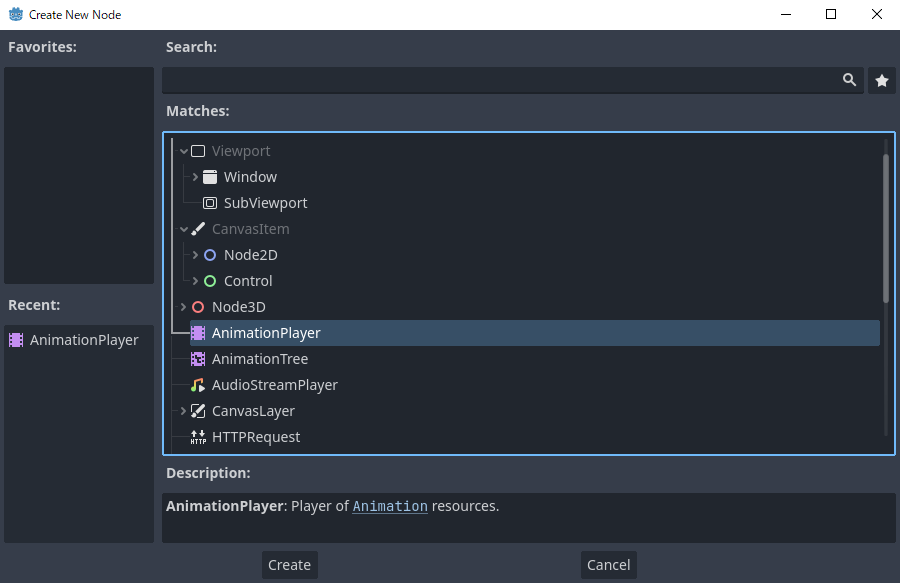
AnimationPlayer节点
After you create an AnimationPlayer node, click on it to open the Animation Panel at the bottom of the viewport.

动画面板位置
The animation panel consists of four parts:
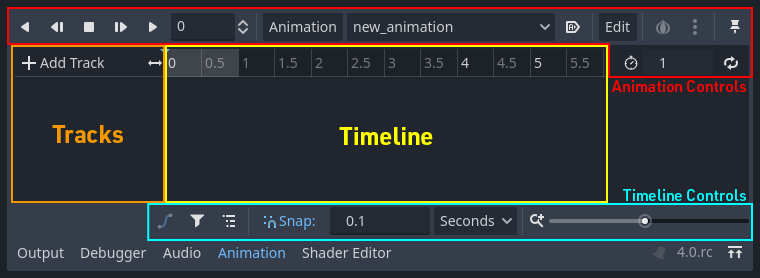
动画面板
动画控件(即添加, 加载, 保存和删除动画)
轨道列表
带有关键帧的时间轴
The timeline and track controls, where you can zoom the timeline and edit tracks, for example.
计算机动画依赖于关键帧
A keyframe defines the value of a property at a point in time.
Diamond shapes represent keyframes in the timeline. A line between two keyframes indicates that the value doesn't change between them.

Godot中的关键帧
You set values of a node's properties and create animation keyframes for them. When the animation runs, the engine will interpolate the values between the keyframes, resulting in them gradually changing over time.
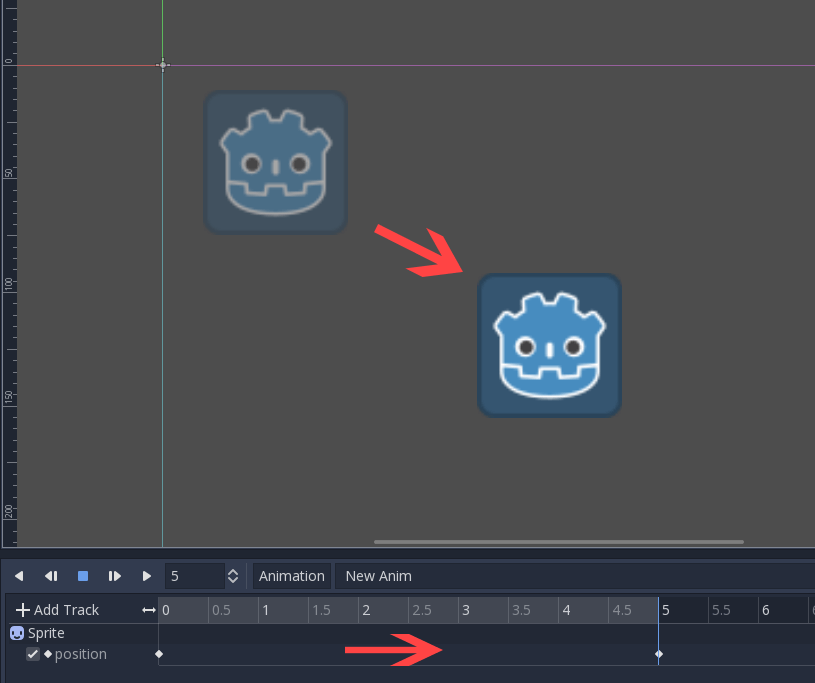
只需两个关键帧就可以获得一个平滑运动
The timeline defines how long the animation will take. You can insert keyframes at various points, and change their timing.

动画面板中的时间轴
Each line in the Animation Panel is an animation track that references a
Normal or Transform property of a node. Each track stores a path to
a node and its affected property. For example, the position track
in the illustration refers to the position property of the Sprite2D
node.

普通动画轨道的示例
小技巧
If you animate the wrong property, you can edit a track's path at any time
by double-clicking on it and typing the new path. Play the animation using the
"Play from beginning" button  (or pressing
Shift + D on keyboard) to see the changes instantly.
教程:创建简单的动画
场景设置
在本教程中,我们将创建一个 AnimationPlayer 节点,并将精灵(Sprite)节点作为其子节点。我们会让这个精灵在屏幕上的两点之间进行移动。
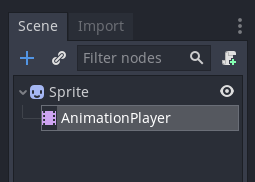
我们的场景设置
警告
AnimationPlayer inherits from Node instead of Node2D or Node3D, which means that the child nodes will not inherit the transform from the parent nodes due to a bare Node being present in the hierarchy.
所以,不建议把具有 2D 或者 3D 变换的节点设置成 AnimationPlayer 节点的子节点。
The sprite holds an image texture. For this tutorial, select the Sprite2D node, click Texture in the Inspector, and then click Load. Select the default Godot icon for the sprite's texture.
Adding an animation
Select the AnimationPlayer node and click the "Animation" button in the
animation editor. From the list, select "New" ( ) to add a new
animation. Enter a name for the animation in the dialog box.
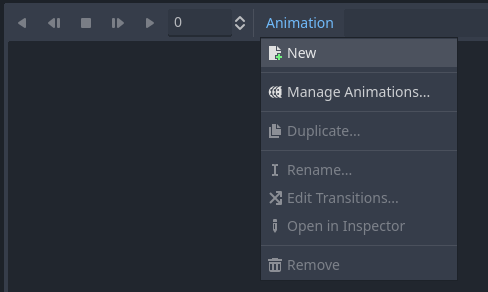
添加新动画
Manage an animation libraries
For reusability, the animation is registered in a list in the animation library resource. If you add an animation to AnimationPlayer without specifying any particular settings, the animation will be registered in the [Global] animation library that AnimationPlayer has by default.
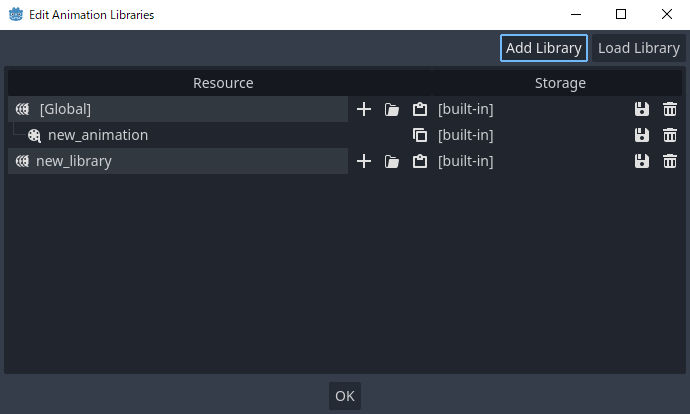
Manage animations
If there are multiple animation libraries and you try to add an animation, a dialog box will appear with options.
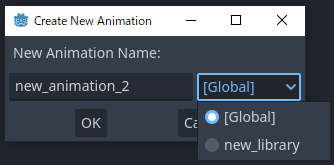
Add a new animation with library option
添加轨道
To add a new track for our sprite, select it and take a look at the toolbar:

方便按钮
These switches and buttons allow you to add keyframes for the selected node's location, rotation, and scale. Since we are only animating the sprite's position, make sure that only the location switch is selected. The selected switches are blue.
Click on the key button to create the first keyframe. Since we don't have a track set up for the Position property yet, Godot will offer to create it for us. Click Create.
Godot will create a new track and insert our first keyframe at the beginning of the timeline:

精灵轨道
第二个关键帧
We need to set our sprite's end location and how long it will take for it to get there.
Let's say we want it to take two seconds to move between the points. By default, the animation is set to last only one second, so change the animation length to 2 in the controls on the right side of the animation panel's timeline header.

动画长度
Now, move the sprite right, to its final position. You can use the Move tool in the toolbar or set the Position's X value in the Inspector.
Click on the timeline header near the two-second mark in the animation panel and then click the key button in the toolbar to create the second keyframe.
运行动画
点击“从头开始播放”( )按钮。
)按钮。
好极了! 我们的动画运行:
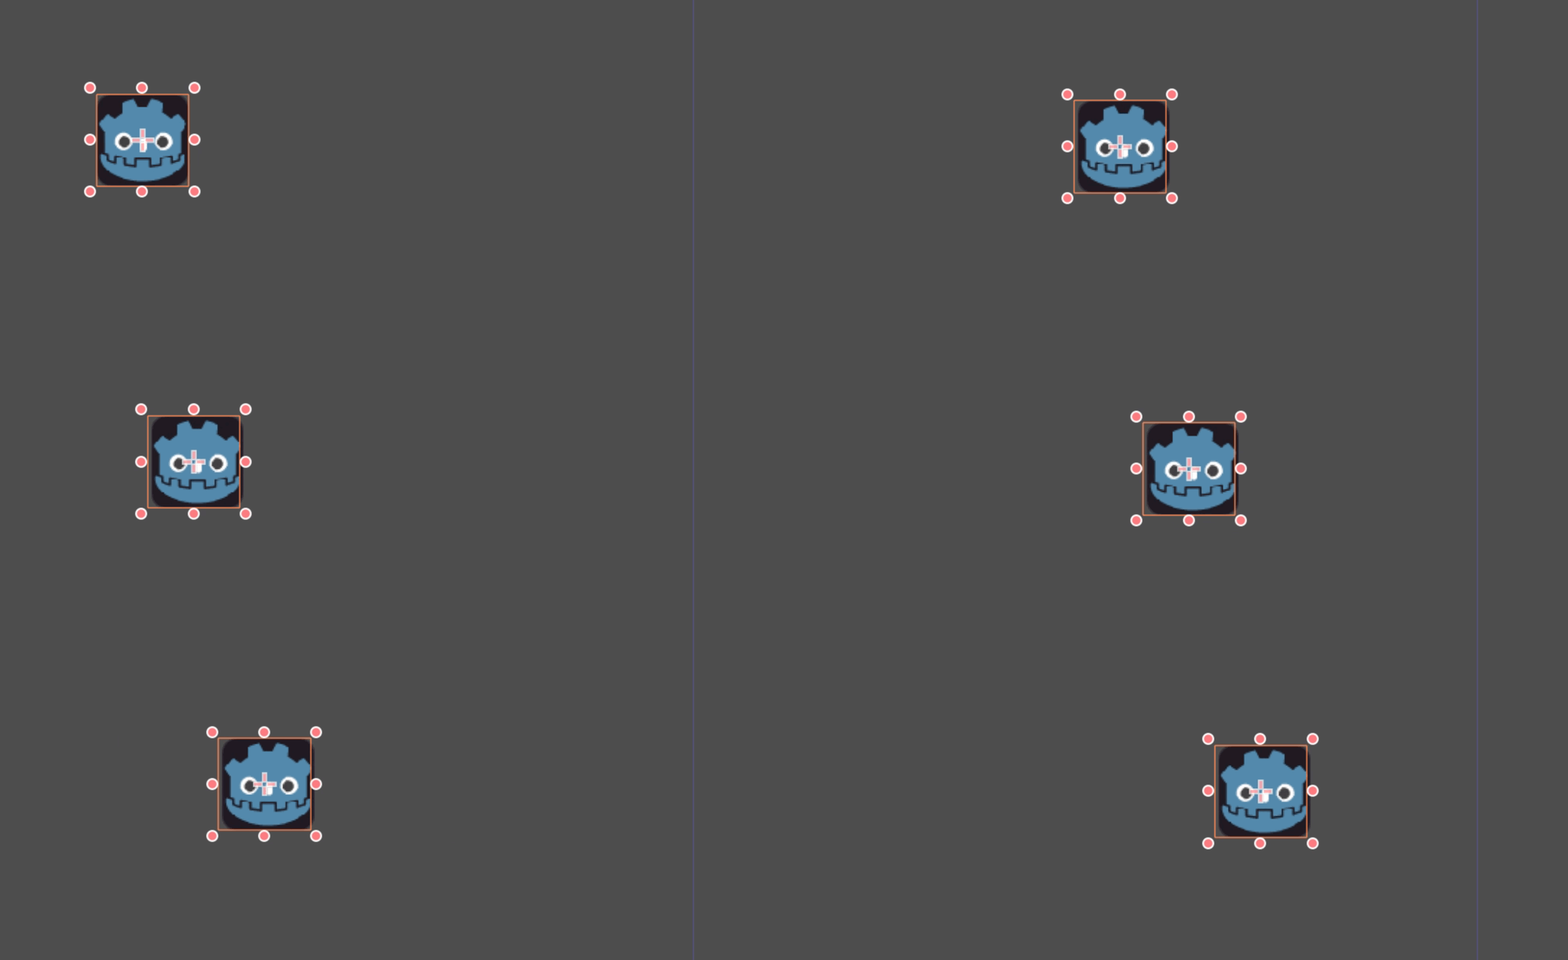
动画
来来回回
Godot has an interesting feature that we can use in animations. When Animation Looping is set but there's no keyframe specified at the end of the animation, the first keyframe is also the last.
This means we can extend the animation length to four seconds now, and Godot will also calculate the frames from the last keyframe to the first, moving our sprite back and forth.

动画循环
You can change this behavior by changing the track's loop mode. This is covered in the next chapter.
轨道设置
Each track has a settings panel at the end, where you can set its update mode, track interpolation, and loop mode.

轨道设置
轨道的更新模式告诉 Godot 何时更新属性值。这可以是:
Continuous: Update the property on each frame
Discrete: Only update the property on keyframes
Capture: if the first keyframe's time is greater than
0.0, the current value of the property will be remembered and will be blended with the first animation key. For example, you could use the Capture mode to move a node that's located anywhere to a specific location.

轨道模式
You will usually use "Continuous" mode. The other types are used to script complex animations.
Track interpolation tells Godot how to calculate the frame values between keyframes. These interpolation modes are supported:
临近:设置为最接近的关键帧的值
线性:使用线性函数计算两个关键帧之间的值
三次方:使用三次函数计算两个关键帧之间的值
Linear Angle (Only appears in rotation property): Linear mode with shortest path rotation
Cubic Angle (Only appears in rotation property): Cubic mode with shortest path rotation
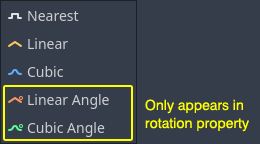
轨道插值
With Cubic interpolation, animation is slower at keyframes and faster between them, which leads to more natural movement. Cubic interpolation is commonly used for character animation. Linear interpolation animates changes at a fixed pace, resulting in a more robotic effect.
Godot supports two loop modes, which affect the animation when it's set to loop:

循环模式
钳位循环插值: 选择此选项后, 动画将在此轨道的最后一个关键帧之后停止. 再次到达第一个关键帧时, 动画将重置为其值.
包循环插值: 当选择此项时,Godot会在最后一个关键帧之后计算动画, 以再次达到第一个关键帧的值.
其他属性的关键帧
Godot's animation system isn't restricted to position, rotation, and scale. You can animate any property.
If you select your sprite while the animation panel is visible, Godot will display a small keyframe button in the Inspector for each of the sprite's properties. Click on one of these buttons to add a track and keyframe to the current animation.
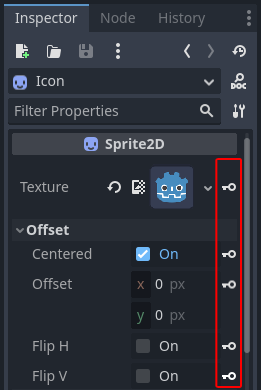
其他属性的关键帧
编辑关键帧
You can click on a keyframe in the animation timeline to display and edit its value in the Inspector.
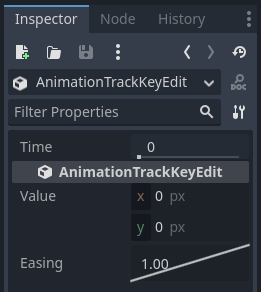
关键帧编辑器编辑一个键
You can also edit the easing value for a keyframe here by clicking and dragging its easing curve. This tells Godot how to interpolate the animated property when it reaches this keyframe.
You can tweak your animations this way until the movement "looks right."
使用 RESET 轨道
你可以设置一个特殊的 RESET(重置)动画来包含“默认姿势”。这样就可以保证在保存场景并重新在编辑器中打开时,会恢复默认姿势。
对于已存在的轨道,你可以添加一个名为“RESET”(大小写敏感)的动画,然后为每一个你希望重置的属性添加轨道。应该只在时间为 0 处存在一个关键帧,其值为每条轨道所期望的默认值。
如果 AnimationPlayer 的 Reset On Save(保存时重置)属性为 true,场景在保存时会应用重置动画的效果(相当于寻道到 0.0 时间点的效果)。只有保存的文件会受到影响——编辑器中的属性轨道还是会保持原样。
If you want to reset the tracks in the editor, select the AnimationPlayer node, open the Animation bottom panel then choose Apply Reset in the animation editor's Edit dropdown menu.
为新建的动画添加轨道时,如果使用的是检查器中属性旁的关键帧图标,编辑器会询问是否自动添加一条 RESET 轨道。这对于使用 3.4 版本之前的 Godot 创建的轨道并不适用,因为动画重置轨道功能是在 3.4 版本中加入的。
备注
RESET tracks is also used as a reference value for blending. See also For better blending.