Attention: Here be dragons
This is the latest
(unstable) version of this documentation, which may document features
not available in or compatible with released stable versions of Godot.
Checking the stable version of the documentation...
创建实例
上一部分中,我们了解到场景是一系列组织成树状结构的节点,其中只有一个节点是根节点。你可以将项目拆分成任意数量的场景。这一特性可以帮你将游戏拆解成不同的组件,并进行组织。
You can create as many scenes as you'd like and save them as files with the
.tscn extension, which stands for "text scene". The label.tscn file from
the previous lesson was an example. We call those files "Packed Scenes" as they
pack information about your scene's content.
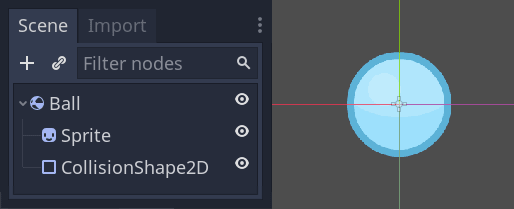
Here's an example of a ball. It's composed of a RigidBody2D node as its root named Ball, which allows the ball to fall and bounce on walls, a Sprite2D node, and a CollisionShape2D.
保存场景过后,这个场景就可以作为蓝图使用:你可以在其他场景中进行任意数量的翻制。将对象根据模板进行翻制的这一过程就叫作实例化。
我们在上一部分提到过,实例化场景的行为与节点类似:编辑器默认会隐藏其中的内容。实例化 Ball 之后,你只会看到 Ball 节点。请注意制作出的副本,名字是唯一的。
Every instance of the Ball scene starts with the same structure and properties
as ball.tscn. However, you can modify each independently, such as changing
how they bounce, how heavy they are, or any property exposed by the source
scene.
实践
Let's use instancing in practice to see how it works in Godot. We invite you to download the ball's sample project we prepared for you: instancing_starter.zip.
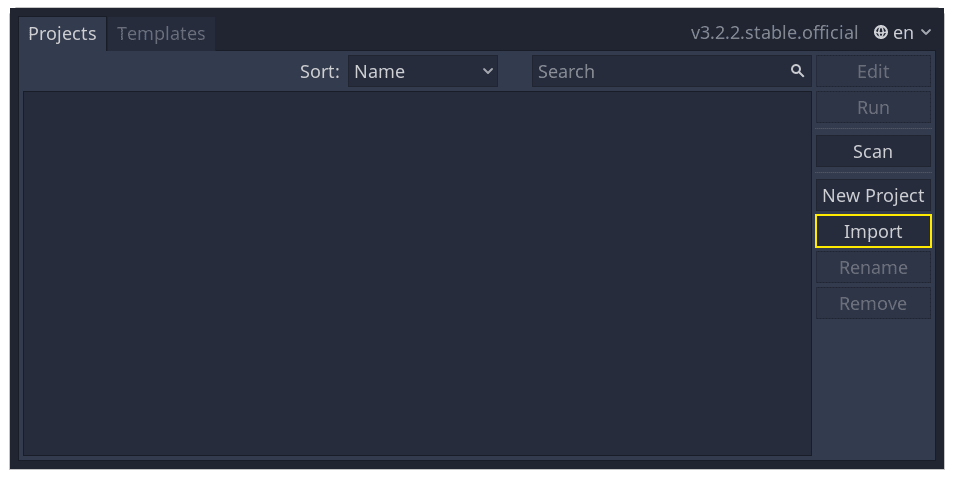
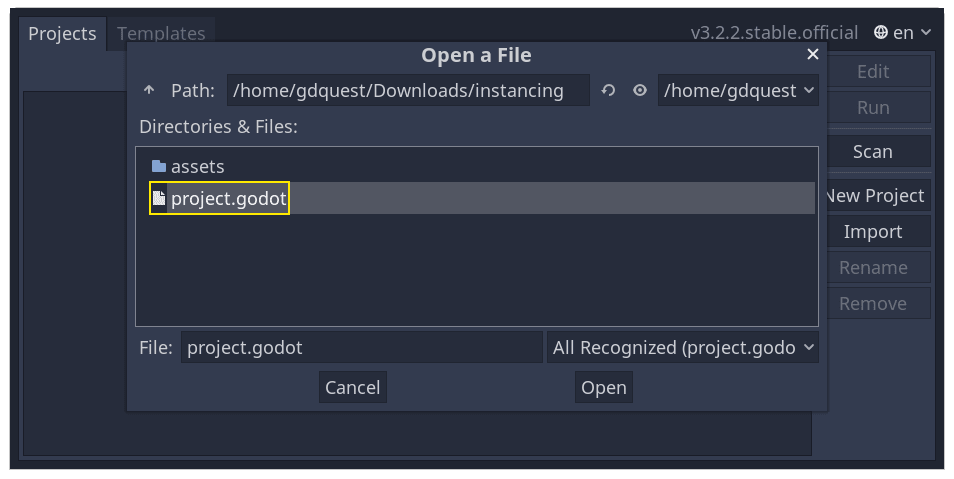
Extract the archive on your computer. To import it, you need the Project Manager. The Project Manager is accessed by opening Godot, or if you already have Godot opened, click on Project -> Quit to Project List (Ctrl + Shift + Q, Ctrl + Option + Cmd + B on macOS)
In the Project Manager, click the Import button to import the project.
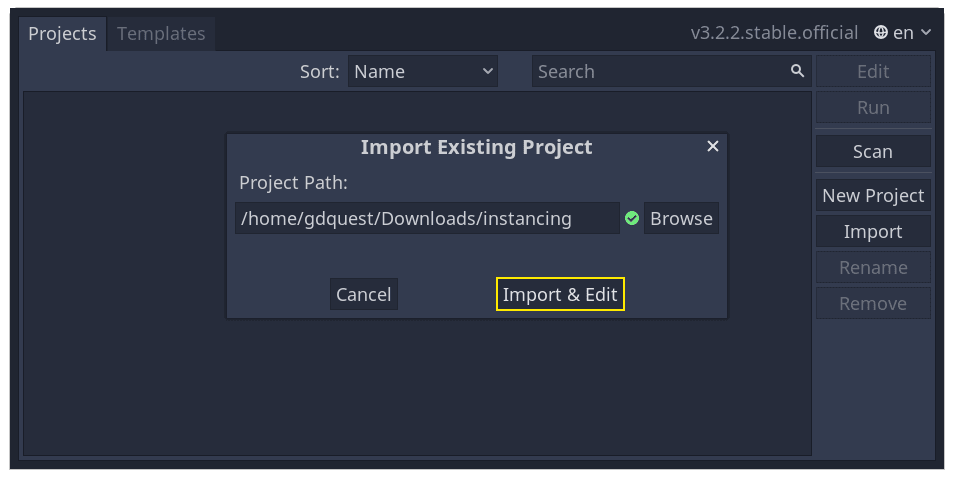
在弹出框中点击浏览按钮,定位到刚才解压的文件夹。
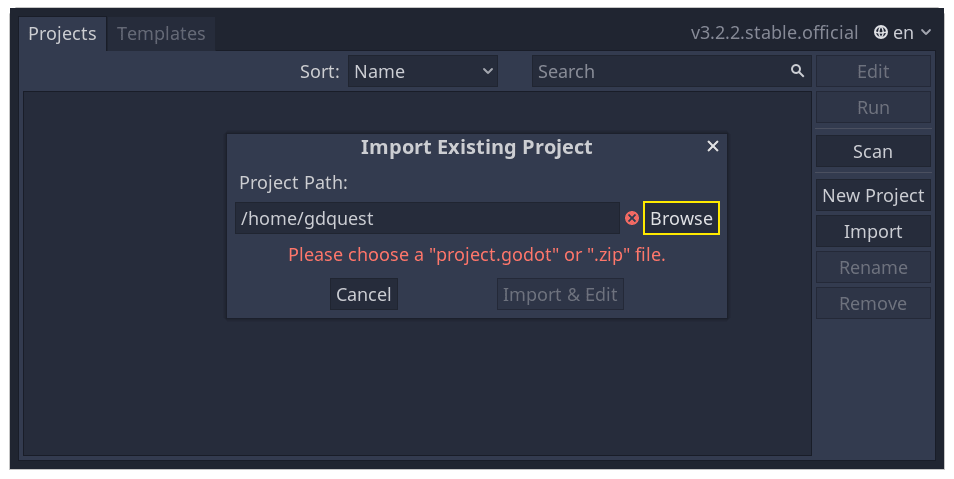
双击打开 project.godot 文件。
最后点击“导入并编辑”按钮。
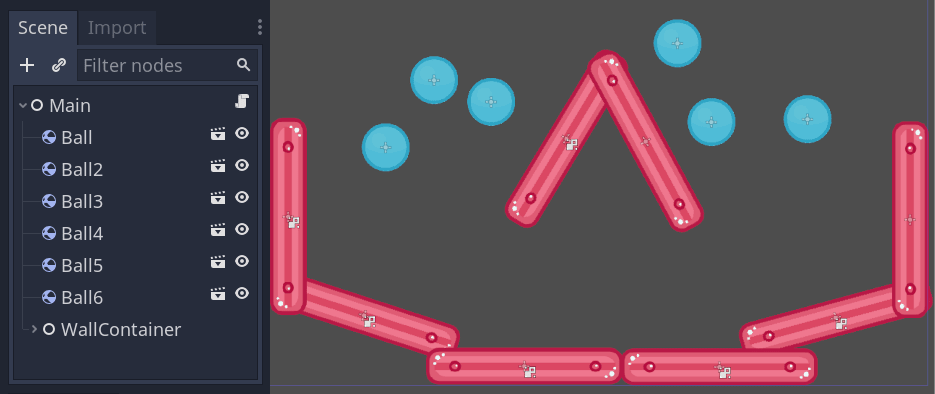
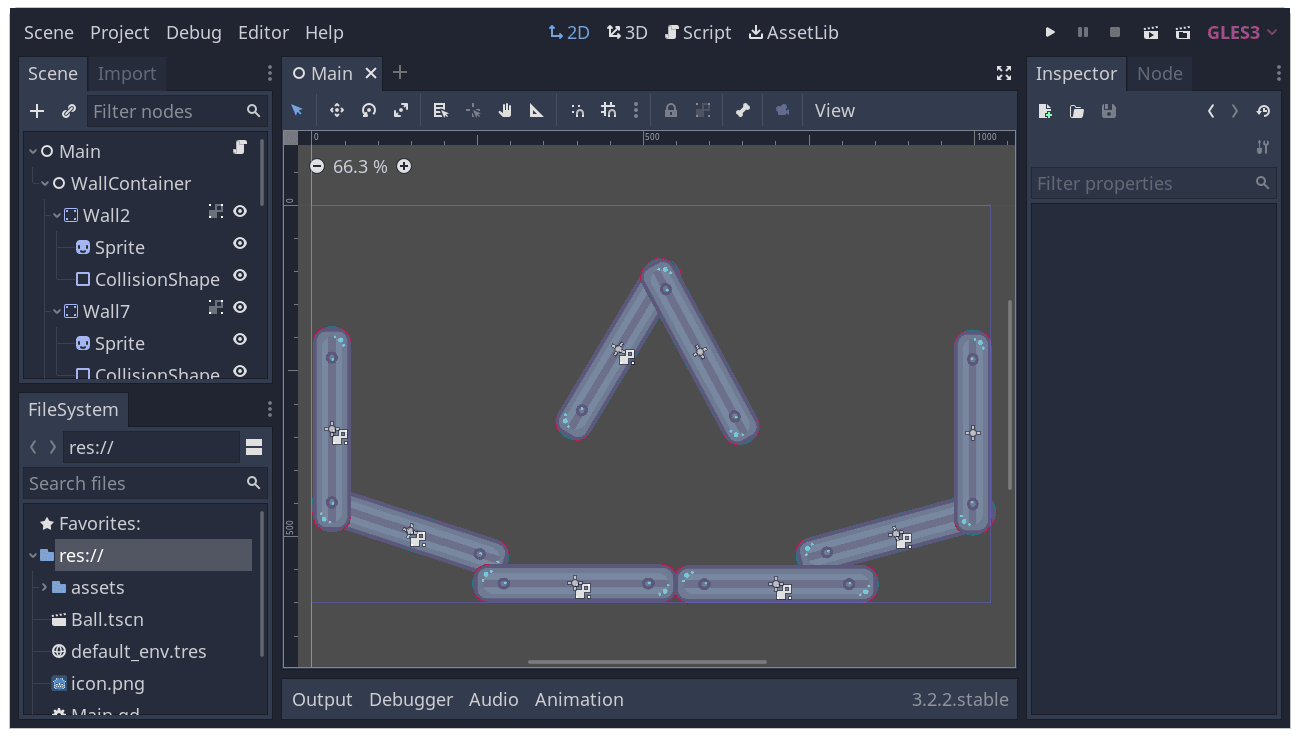
The project contains two packed scenes: main.tscn, containing walls against
which the ball collides, and ball.tscn. The Main scene should open
automatically.
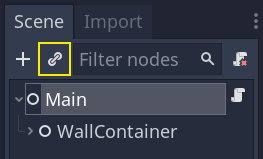
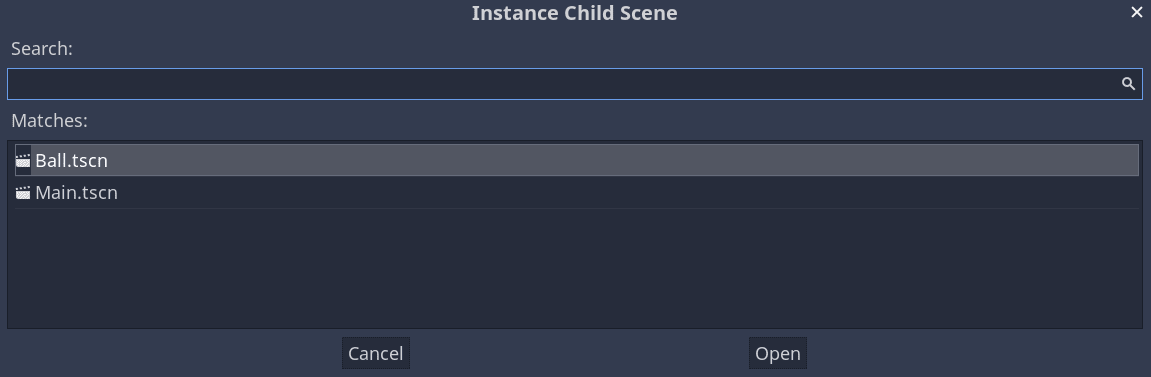
让我们为 Main 节点添加一个小球作为子节点。在“场景”面板中,选择 Main 节点。然后点击场景面板顶部的链接图标。这个按钮的作用是为当前选中节点添加另一个场景的实例作为子节点。
双击小球场景来实例化。
小球会出现在视口的左上角。
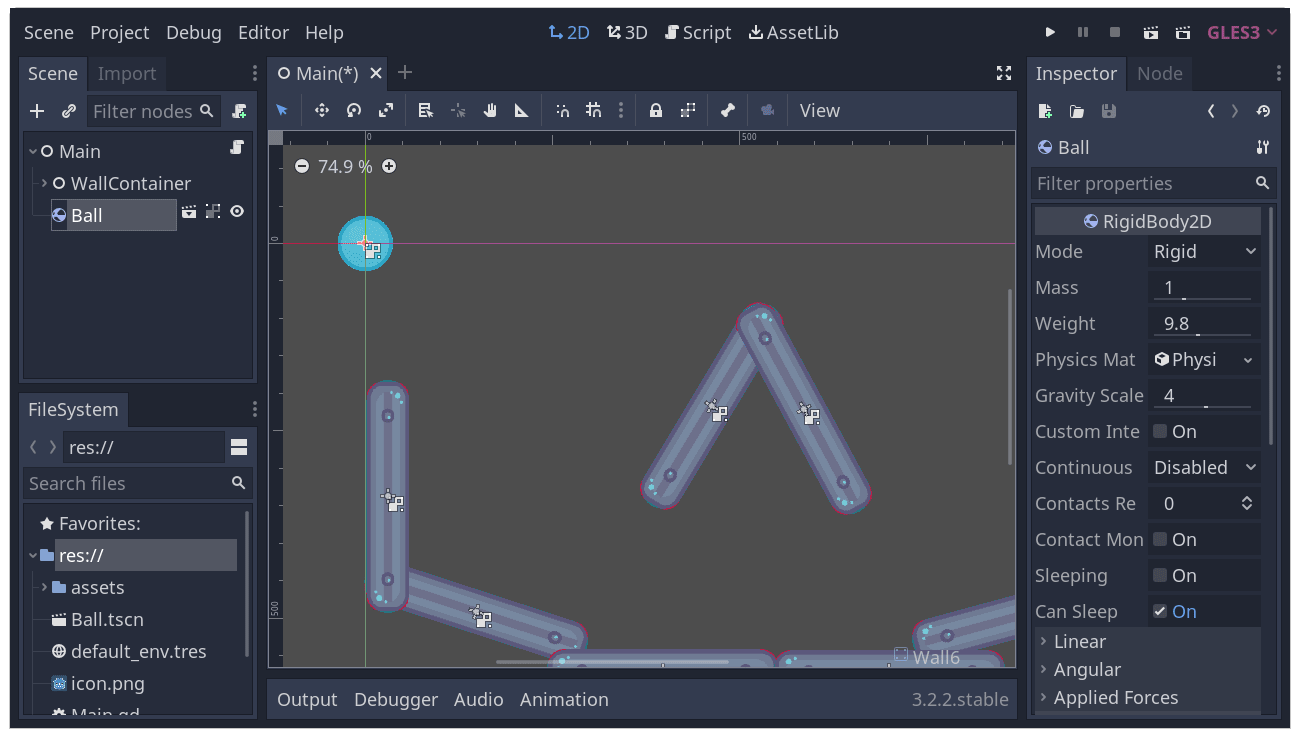
点击它,然后拖拽到视图的中心。
Play the game by pressing F5 (Cmd + B on macOS). You should see it fall.
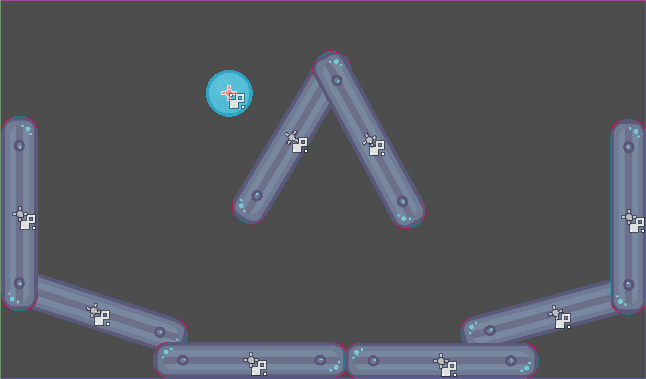
现在我们希望创建更多的 Ball 节点实例。保持小球仍处于选中的状态,按下 Ctrl-D(macOS 则是 Cmd-D)调用制作副本命令。点击并将新的小球拖到别的位置。
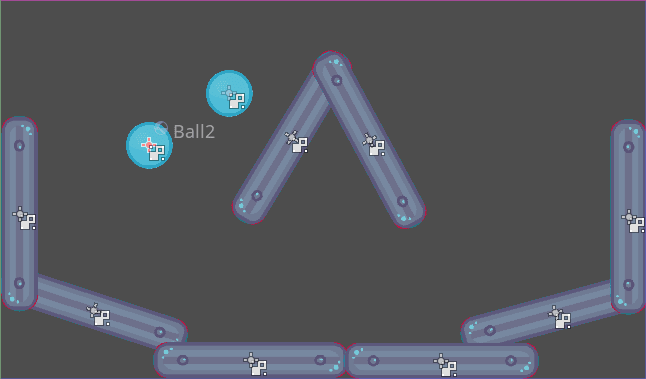
你可以重复这个过程在场景中多建几个。
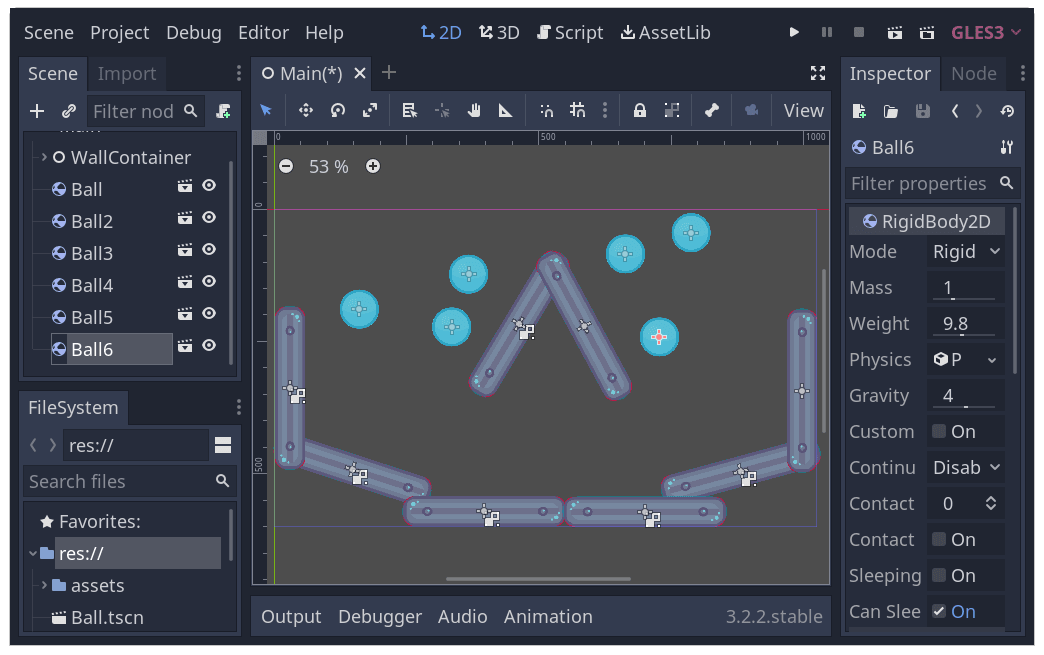
再次运行游戏。现在你应该看到每个小球都各自下落。这就是实例的作用。每一个都是模板场景的独立副本。
编辑场景和实例
实例还有很多用法。使用这个特性,你可以:
使用“检查器”修改一个小球的属性,不影响其他实例。
Change the default properties of every Ball by opening the
ball.tscnscene and making a change to the Ball node there. Upon saving, all instances of the Ball in the project will see their values update.
备注
修改实例上的属性总是会覆盖对应打包场景中的值。
Let's try this. Open ball.tscn and select the Ball node. In the Inspector on
the right, click on the PhysicsMaterial property to expand it.
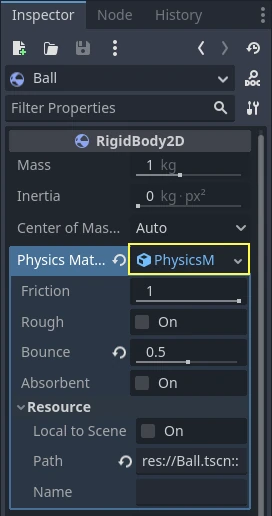
Set its Bounce property to 0.5 by clicking on the number field, typing 0.5,
and pressing Enter.

按 F5 运行游戏,请注意所有的小球都更有弹性了。因为 Ball 场景是所有实例的模板,对它进行修改并保存,就会导致所有实例同时进行更新。
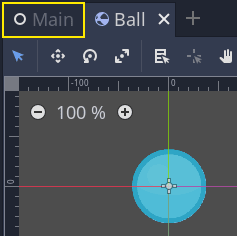
现在让我们来调整单个实例。点击视口上方的对应选项卡回到 Main 场景。
选择一个 Ball 实例节点,然后“检查器”中将 Gravity Scale(重力缩放)设为 10。

在被调整过的属性旁边就会多一个灰色的“复原”按钮。
这个图标表示你覆盖了源打包场景中的值。即使你修改了原始场景中的这个属性,这个覆盖后的值也还是会保留在这个实例中。点击复原图标会将属性恢复成保存场景中的值。
重新运行游戏,请注意这个小球会比其他小球落得快得多。
备注
如果你修改了一个实例中的 PhysicsMaterial,那么就会影响到其他所有实例。这是因为 PhysicsMaterial 是一个资源,而资源是跨实例共享的。要让某个实例的资源唯一,请在“检查器”中对其右键,然后选择弹出菜单中的“唯一化”。
资源也是 Godot 游戏的关键组件,我们会在后续课程中介绍。
作为设计语言的场景实例
Godot中的实例和场景提供了一种优秀的设计语言,使该引擎与其他引擎不同。我们从一开始就围绕这个概念设计Godot。
我们建议在使用 Godot 制作游戏时忽略架构代码模式,例如模型-视图-控制器 (MVC) 或实体关系图。相反,你可以从想象玩家将在游戏中看到的元素开始,并围绕它们构建代码。
例如,你可以这样拆解一个射击游戏:
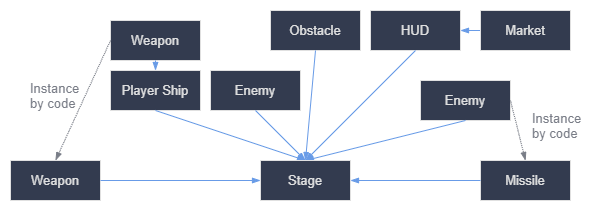
对于几乎任何类型的游戏,都可以想出这样的图表。矩形表示的是从玩家角度可以在游戏中看到的实体,箭头表示的是场景之间的从属关系。
Once you have a diagram, we recommend creating a scene for each element listed in it to develop your game. You'll use instancing, either by code or directly in the editor, to build your tree of scenes.
程序员们乐于花费大量时间来设计抽象的架构,尽力使得组件能够适用于这个架构。基于场景的设计取代了这种方法,使得开发更快、更直接,能够让你去专注于游戏逻辑本身。因为大多数游戏的组件都是直接映射成一个场景,所以使用基于场景实例化的设计意味着需要很少的其他架构代码。
这里是另一个更复杂的开放世界类游戏的示例,这个示例包括有很多资产和嵌套元素:
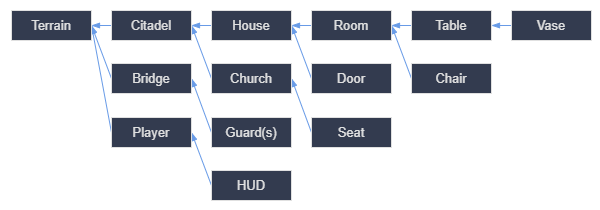
想象一下,我们从创建房间开始。我们可以制作几个不同的房间场景,在其中有独特的家具安排。后来,我们可以制作一个房屋场景,在内部使用多个房间实例。我们将用许多实例化的房子和一个大的地形来创建一个城堡,我们将把城堡放在这个地形上。每一个场景都将是一个或多个子场景的实例。
之后,我们可以创建代表守卫的场景,将它们加到城堡之中。也就会间接地加到了游戏世界里。
使用 Godot,就可以很容易地像这样迭代你的游戏,因为你需要做的就是创建并实例化更多的场景。我们将编辑器设计成了易于程序员、设计师、艺术家使用的形式。一个典型的团队开发过程会涉及 2D 或 3D 美术、关卡设计师、游戏设计师、动画师等,他们都可以用 Godot 编辑器工作。
总结
实例化,从蓝图生成对象的过程有许多方便的用途。通过场景,它为您提供:
能将你的游戏分离成可以重复利用的组件。
一个构建和封装复杂系统的工具。
一种以自然方式思考游戏项目结构的语言。