Attention: Here be dragons
This is the latest
(unstable) version of this documentation, which may document features
not available in or compatible with released stable versions of Godot.
Checking the stable version of the documentation...
节点与场景
在 Godot 关键概念概述 中,我们看到 Godot 游戏就是由场景构成的树状结构,而每一个场景又是一个由节点构成的树状结构。在这一节中,我们将更详细地解释这些概念,你还将创建你的第一个场景。
节点
节点是你的游戏的基本构件。它们就像食谱里的食材。Godot 引擎包含很多种节点,可以用来显示图像、播放声音、表示摄像机等等。

All nodes have the following characteristics:
名称。
可编辑的属性。
每帧都可以接收回调以进行更新。
你可以使用新的属性和函数来进行扩展。
你可以将它们添加为其他节点的子节点。
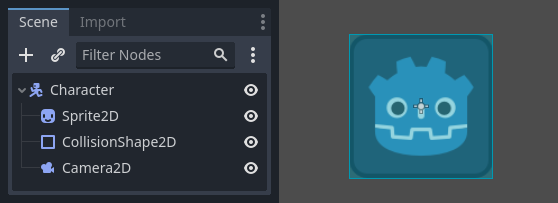
The last characteristic is important. Together, nodes form a tree, which is a powerful feature to organize projects. Since different nodes have different functions, combining them produces more complex behavior. As we saw before, you can build a playable character the camera follows using a CharacterBody2D node named "Character", a Sprite2D node, a Camera2D node, and a CollisionShape2D node.
场景
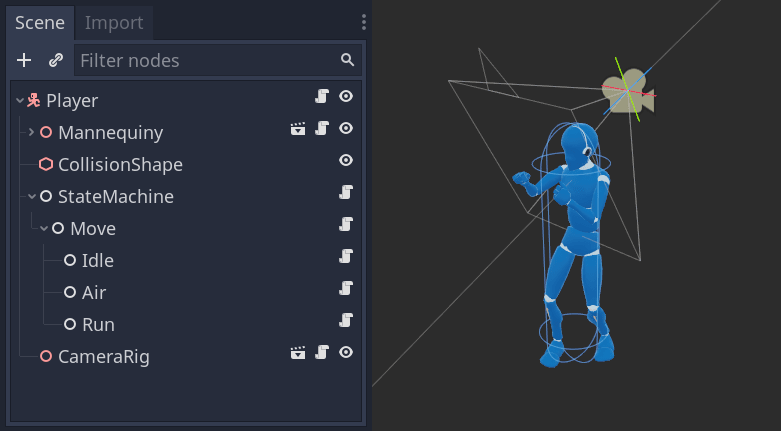
当你在树中组织节点时,就像我们的角色一样,我们称之为场景构造。保存后,场景的工作方式类似于编辑器中的新节点类型,您可以在其中将它们添加为现有节点的子节点。在这种情况下,场景实例显示为隐藏其内部结构的单个节点。
场景允许你以你想要的方式来构造你的游戏代码。你可以组合节点来创建自定义和复杂的节点类型,比如能跑能跳的游戏角色、生命条、可以互动的箱子等等。
本质上,Godot 编辑器就是一个场景编辑器。它有很多用于编辑 2D 和 3D 场景以及用户界面的工具。Godot 项目中可以包含任意数量你所需要的场景。引擎只要求将其中之一设为程序的主场景。这是你或者玩家运行游戏时,Godot 最初加载的场景。
On top of acting like nodes, scenes have the following characteristics:
它们始终有一个根节点,就像我们示例中的“Character”一样。
You can save them to your local drive and load them later.
您可以根据需要创建任意数量的场景实例。您的游戏中可以有五个或十个角色,这些角色是从角色场景中创建的。
创建第一个场景
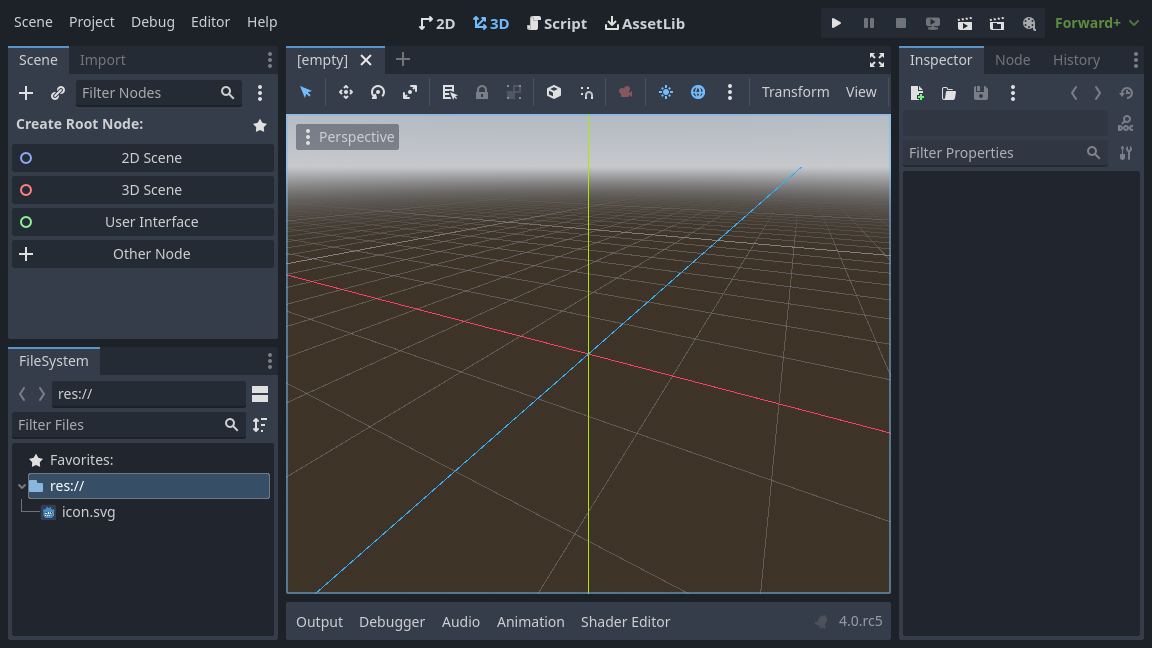
Let's create our first scene with a single node. To do so, you will need to create a new project first. After opening the project, you should see an empty editor.
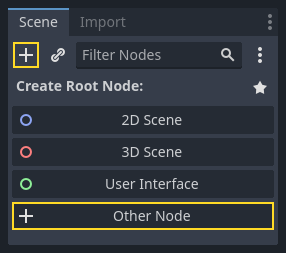
In an empty scene, the Scene dock on the left shows several options to add a root node quickly. "2D Scene" adds a Node2D node, "3D Scene" adds a Node3D node, and "User Interface" adds a Control node. These presets are here for convenience; they are not mandatory. "Other Node" lets you select any node to be the root node. In an empty scene, "Other Node" is equivalent to pressing the "Add Child Node" button at the top-left of the Scene dock, which usually adds a new node as a child of the currently selected node.
We're going to add a single Label node to our scene. Its function is to draw text on the screen.
点击“添加子节点”按钮或者“其他节点”,创建根节点。
“新建 Node”对话框打开,展示一大串可用节点。
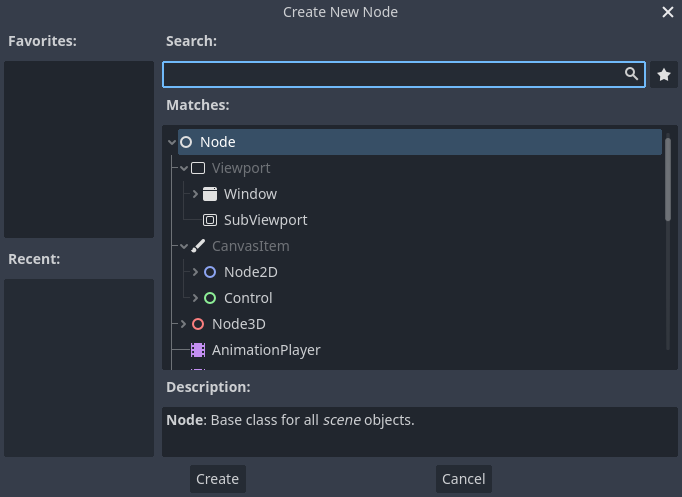
选择 Label 节点。您可以输入这个名字来对列表进行过滤。
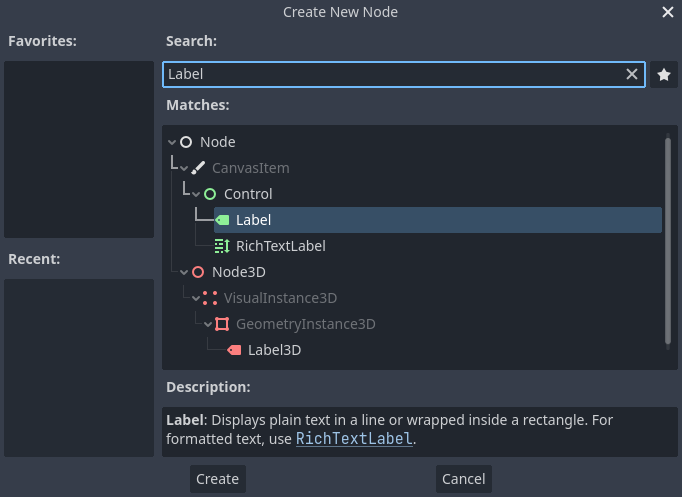
点击 Label 节点将其选中,然后点击窗口底部的“创建”按钮。
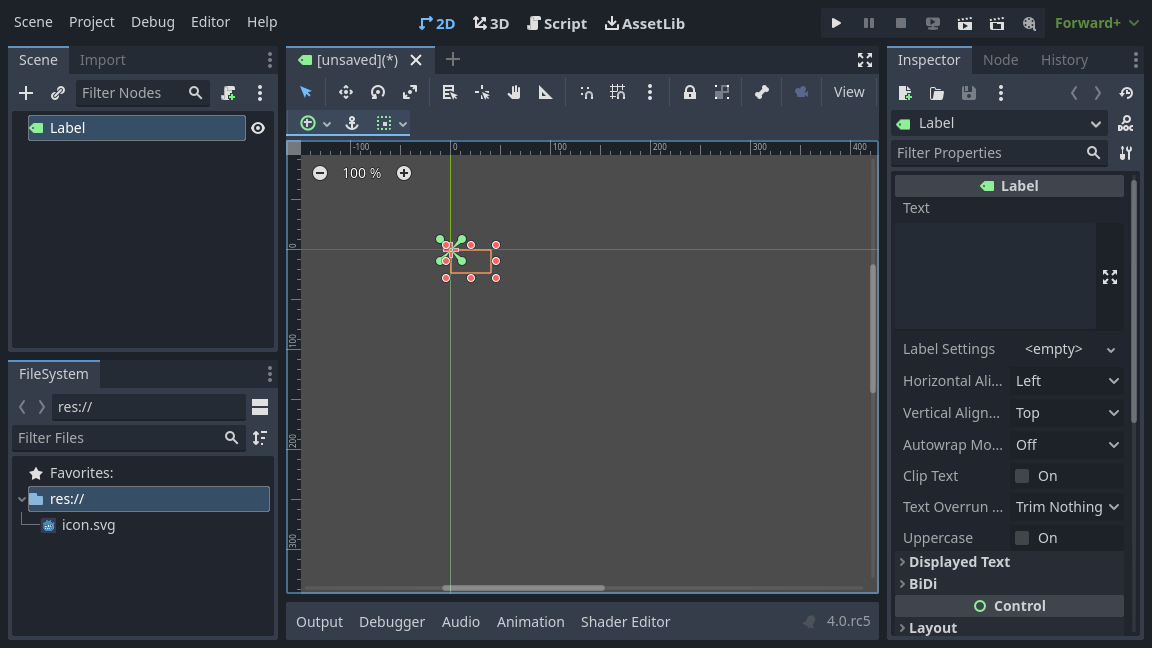
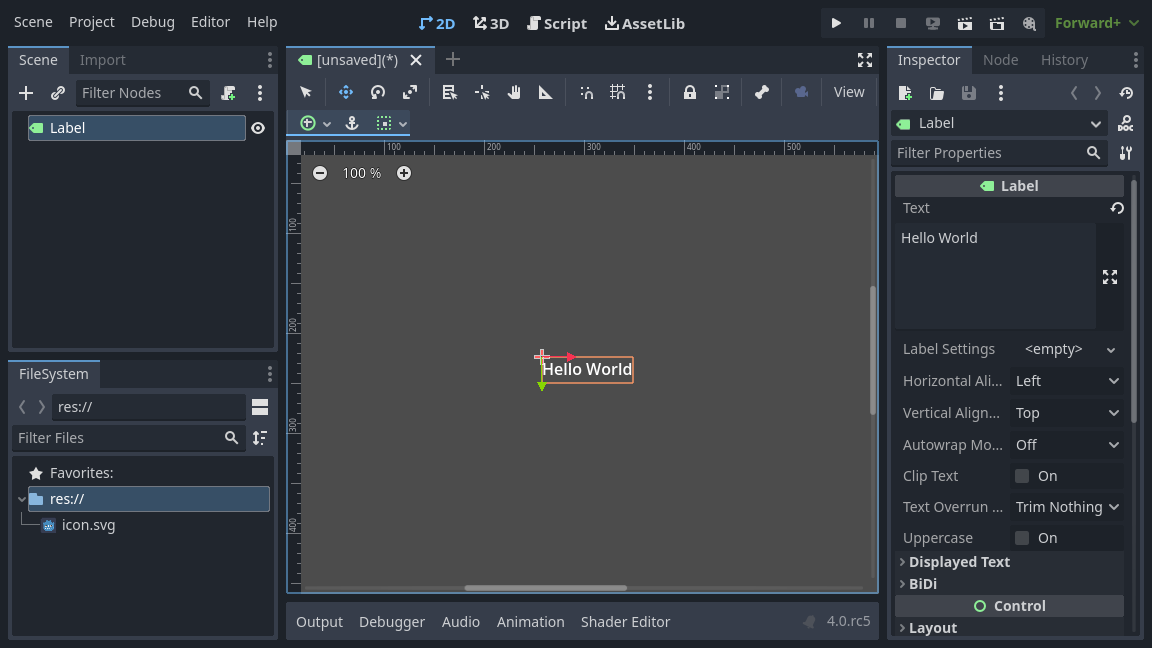
添加场景中的第一个节点时会发生很多事。场景会切换到 2D 工作区,因为 Label 是 2D 节点类型。该 Label 会以选中的状态出现在视口的左上角。这个节点也会出现在左侧的“场景”面板中,它的属性会书现在右侧的“检查器”面板里。
修改节点的属性
下一步是修改 Label 的“Text”属性。我们把它改成“Hello World”。
前往视口右侧的“检查器”面板。点击 Text 属性下方的字段,然后填入“Hello World”。
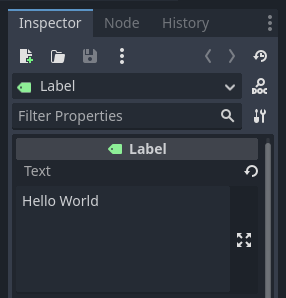
在你打字的同时,你会发现视口中也绘制出了这段文字。
参见
You can edit any property listed in the Inspector as we did with the Text. For a complete reference of the Inspector dock, see the The Inspector.
选择工具栏上的移动工具,就可以在视口中移动你的 Label 节点。

选中 Label,点击并拖拽视口中的任何位置,将它移动到矩形框所表示的视图中心。
运行场景
运行场景一切就绪!请按下屏幕右上角的“运行场景”按钮或 F6(macOS 上则是 Cmd + R)。

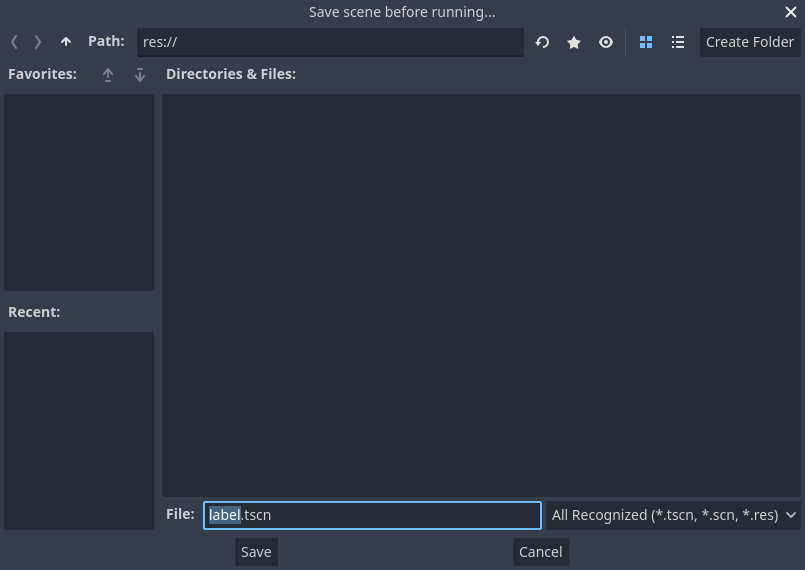
A popup invites you to save the scene, which is required to run it. Click the Save button in the file browser to save it as "label.tscn".
备注
“场景另存为”对话框,和编辑器中的其他文件对话框一样,只允许你将文件保存在项目之中。窗口顶部的 res:// 路径表示项目的根目录,表示“resource path”(资源路径)。Godot 中文件路径的更多信息请参阅 文件系统。
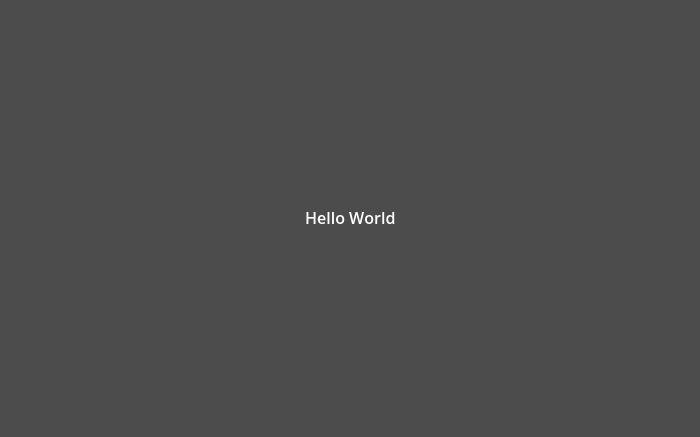
程序会打开一个新窗口,显示“Hello World”字样。
Close the window or press F8 (Cmd + . on macOS) to quit the running scene.
设置主场景
我们运行测试场景用的是“运行场景”按钮。它旁边的另一个按钮可以用来设置并运行项目的主场景。你也可以按 F5(macOS 上则是 Cmd + B)达到同样的效果。

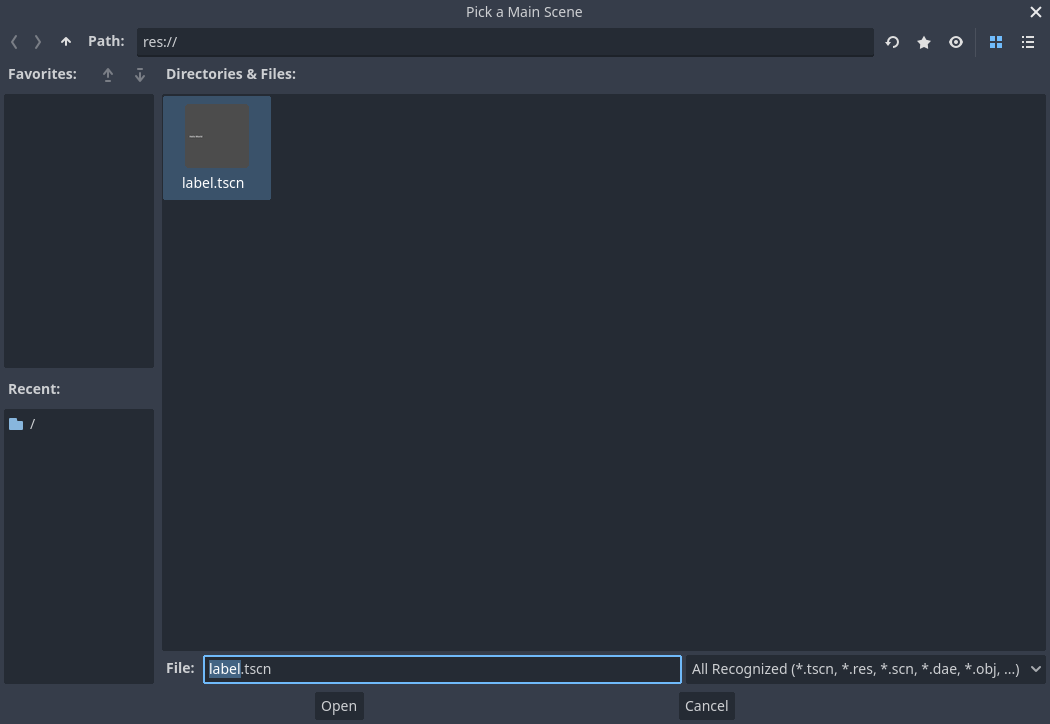
出现弹出窗口让你选择主场景。
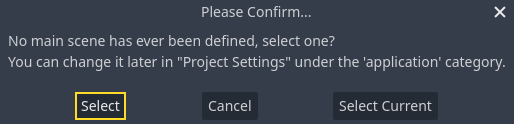
Click the Select button, and in the file dialog that appears, double click on
label.tscn.
演示程序又会开始运行。此后,每次你运行项目,Godot 都会使用该场景作为起点。
备注
The editor saves the main scene's path in a project.godot file in your project's directory. While you can edit this text file directly to change project settings, you can also use the "Project -> Project Settings" window to do so. For more information, see 项目设置.
下一部分中,我们将讨论游戏和 Godot 中的另一个关键概念:创建场景的实例。