Attention: Here be dragons
This is the latest
(unstable) version of this documentation, which may document features
not available in or compatible with released stable versions of Godot.
Checking the stable version of the documentation...
生成怪物
在这一部分中,我们将沿着一条路径随机刷怪。在最后,怪物们就会在游戏区域到处乱跑了。
Double-click on main.tscn in the FileSystem dock to open the Main scene.
Before drawing the path, we're going to change the game resolution. Our game has
a default window size of 1152x648. We're going to set it to 720x540, a
nice little box.
前往项目 -> 项目设置。

在左侧菜单中,找到 Display -> Window(显示 -> 窗口)。在右侧将 Width(宽度)设为 720、Height(高度)设为 540。

创建生成路径
Like you did in the 2D game tutorial, you're going to design a path and use a PathFollow3D node to sample random locations on it.
不过在 3D 中,路径绘制起来会有一点复杂。我们希望它是围绕着游戏视图的,这样怪物就会在屏幕外出现。但绘制的路径也同样不会在摄像机预览中出现。
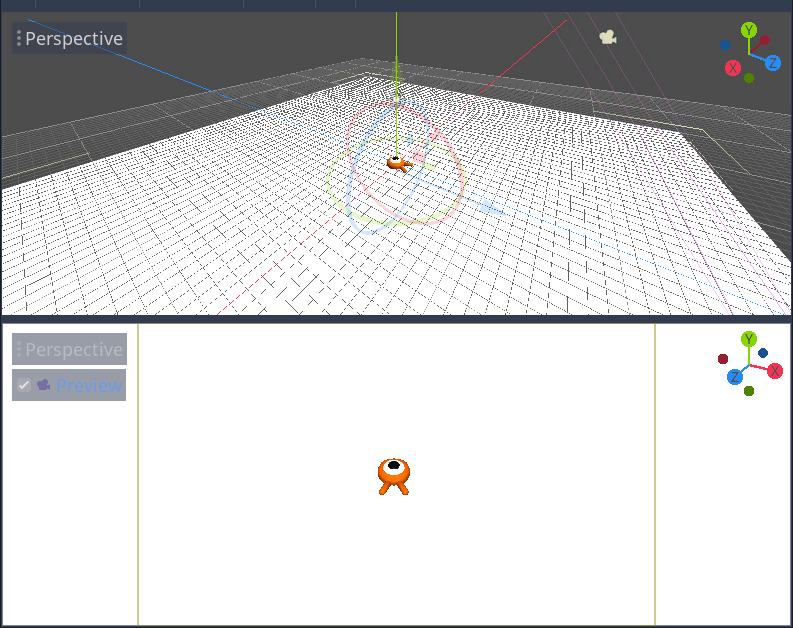
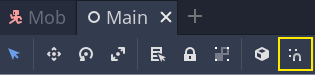
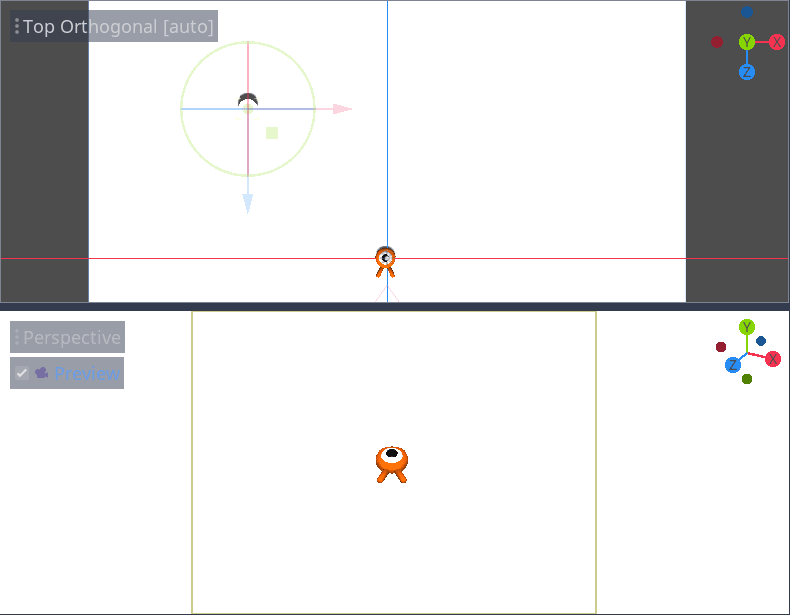
To find the view's limits, we can use some placeholder meshes. Your viewport should still be split into two parts, with the camera preview at the bottom. If that isn't the case, press Ctrl + 2 (Cmd + 2 on macOS) to split the view into two. Select the Camera3D node and click the Preview checkbox in the bottom viewport.
添加占位圆柱体
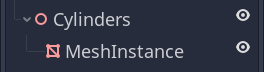
Let's add the placeholder meshes. Add a new Node3D as a child of the
Main node and name it Cylinders. We'll use it to group the cylinders. Select Cylinders and add a child node MeshInstance3D
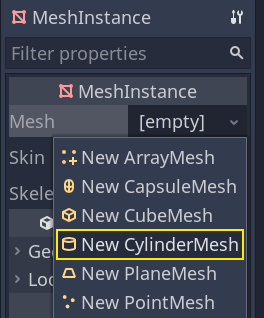
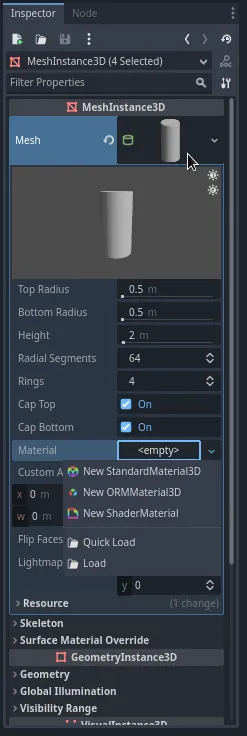
在检查器中,为 Mesh(网格)属性赋值 CylinderMesh(圆柱体网格)。
使用视口左上角的菜单,将上面的视口设为正交顶视图。或者你也可以按小键盘的 7。

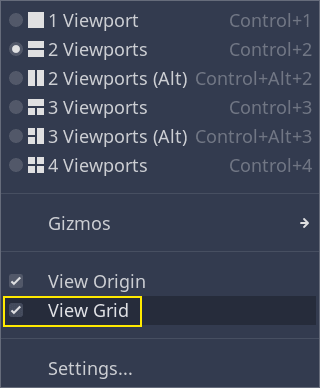
The grid may be distracting. You can toggle it by going to the View menu in the toolbar and clicking View Grid.
你现在要沿着地平面移动圆柱体,看底部视口的相机预览。我推荐使用网格捕捉来做这件事。你可以通过点击工具栏上的磁铁图标或按 Y 键来切换。
Move the cylinder so it's right outside the camera's view in the top-left corner.
我们将创建网格的副本,并将它们放置在游戏区域周围。按 Ctrl + D(在 macOS 上则为 Cmd + D)来复制节点。你也可以在场景面板中右击节点,选择制作副本。沿着蓝色 Z 轴向下移动副本,直到它正好在摄像机的预览范围之外。
按住 Shift 键选择两个圆柱体,并点击未选择的那个圆柱体,然后复制它们。
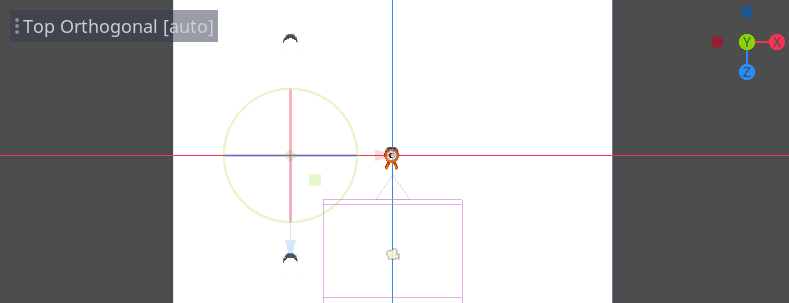
拖拽红色的 X 轴,将它们移动到右侧。
白色的有点难以看清是吧?让我们给它们一个全新的材质,让它们凸显出来。
在 3D 中,材质可以定义表面的外观属性,比如颜色、如何反射光照等。我们可以用材质来修改网格的颜色。
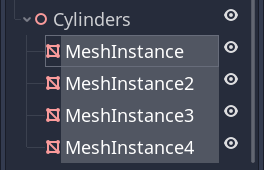
我们可以同时更新所有四个圆柱体。在场景面板中选中所有网格实例。要实现全选,可以先点击第一个,然后按住 Shift 点击最后一个。
In the Inspector, expand the Material section and assign a StandardMaterial3D to slot 0.

点击球体图标来打开材质资源。你会看到材质的预览和一长串充满属性的部分。你可以用这些来创建各种表面,从金属到岩石或水。
Expand the Albedo section.

Set the color to something that contrasts with the background, like a bright orange.

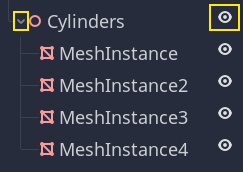
我们现在可以使用圆柱体作为参考。点击它们旁边的灰箭头,将它们折叠在场景面板中。你也可以通过点击 Cylinders 旁边的眼睛图标来切换它们的可见性。
Add a child node Path3D to Main node. In the toolbar, four icons appear. Click
the Add Point tool, the icon with the green "+" sign.

备注
鼠标悬停在任意图标上,就可以看到描述该工具的工具提示。
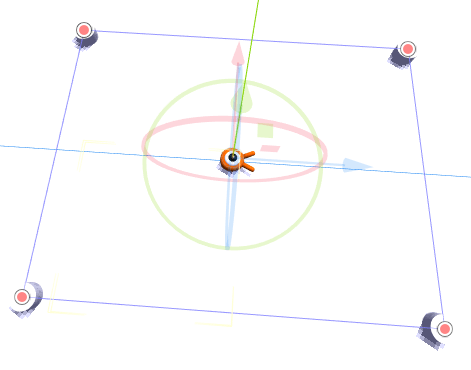
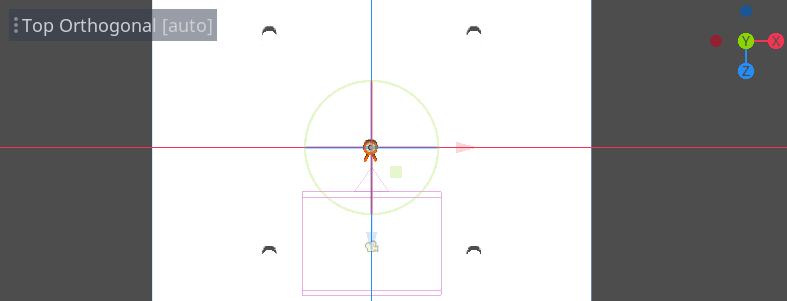
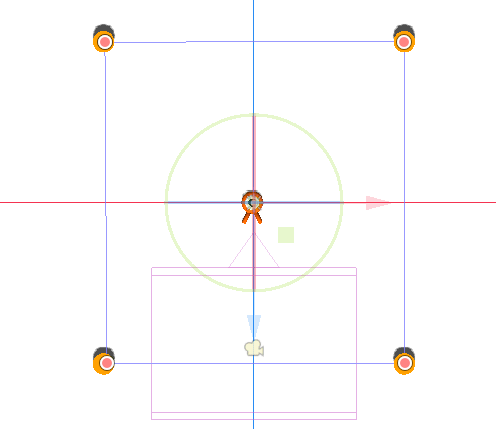
单击每个圆柱体的中心以创建一个点。然后,单击工具栏中的闭合曲线图标以关闭路径。如果有任何一点偏离,您可以单击并拖动它以重新定位它。

你的路径看起来应该类似这样。
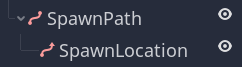
To sample random positions on it, we need a PathFollow3D node. Add a
PathFollow3D as a child of the Path3D. Rename the two nodes to SpawnPath and
SpawnLocation, respectively. It's more descriptive of what we'll use them for.
这样,我们就可以着手编写刷怪机制了。
随机生成怪物
Right-click on the Main node and attach a new script to it.
We first export a variable to the Inspector so that we can assign mob.tscn
or any other monster to it.
extends Node

@export var mob_scene: PackedScene
using Godot;

public partial class Main : Node
{
    // Don't forget to rebuild the project so the editor knows about the new export variable.

    [Export]
    public PackedScene MobScene { get; set; }
}
We want to spawn mobs at regular time intervals. To do this, we need to go back
to the scene and add a timer. Before that, though, we need to assign the
mob.tscn file to the mob_scene property above (otherwise it's null!)
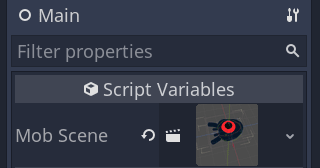
Head back to the 3D screen and select the Main node. Drag mob.tscn from
the FileSystem dock to the Mob Scene slot in the Inspector.
Add a new Timer node as a child of Main. Name it MobTimer.

在检查器中,将其 Wait Time(等待时间)设为 0.5 秒,然后打开 Autostart(自动开始),这样我们运行游戏它就会自动开始。
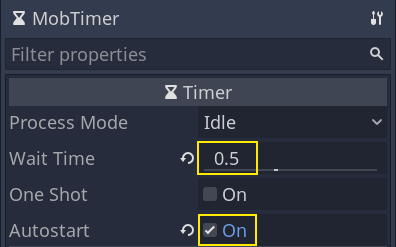
计时器在每次到达 Wait Time 时都会发出 timeout 信号。计时器默认会自动重启,循环触发信号。我们可以将 Main 节点连接到这个信号,每 0.5 秒生成一只怪物。
With the MobTimer still selected, head to the Node dock on the right, and
double-click the timeout signal.
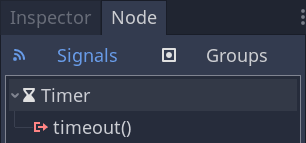
将它连接到 Main 节点。
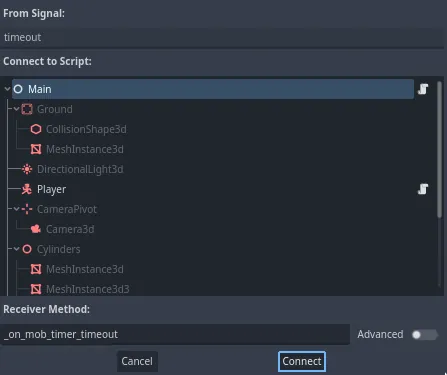
This will take you back to the script, with a new empty
_on_mob_timer_timeout() function.
让我们来编写刷怪的逻辑吧。我们要做的是:
实例化小怪的场景。
在生成路径上随机选取一个位置。
获取玩家的位置。
调用小怪的
initialize()方法,传入随机位置和玩家的位置。将小怪添加为 Main 节点的子节点。
func _on_mob_timer_timeout():
    # Create a new instance of the Mob scene.
    var mob = mob_scene.instantiate()

    # Choose a random location on the SpawnPath.
    # We store the reference to the SpawnLocation node.
    var mob_spawn_location = get_node("SpawnPath/SpawnLocation")
    # And give it a random offset.
    mob_spawn_location.progress_ratio = randf()

    var player_position = $Player.position
    mob.initialize(mob_spawn_location.position, player_position)

    # Spawn the mob by adding it to the Main scene.
    add_child(mob)
// We also specified this function name in PascalCase in the editor's connection window
private void OnMobTimerTimeout()
{
    // Create a new instance of the Mob scene.
    Mob mob = MobScene.Instantiate<Mob>();

    // Choose a random location on the SpawnPath.
    // We store the reference to the SpawnLocation node.
    var mobSpawnLocation = GetNode<PathFollow3D>("SpawnPath/SpawnLocation");
    // And give it a random offset.
    mobSpawnLocation.ProgressRatio = GD.Randf();

    Vector3 playerPosition = GetNode<Player>("Player").Position;
    mob.Initialize(mobSpawnLocation.Position, playerPosition);

    // Spawn the mob by adding it to the Main scene.
    AddChild(mob);
}
Above, randf() produces a random value between 0 and 1, which is
what the PathFollow node's progress_ratio expects:
0 is the start of the path, 1 is the end of the path.
The path we have set is around the camera's viewport, so any random value between 0 and 1
is a random position alongside the edges of the viewport!
Here is the complete main.gd script so far, for reference.
extends Node

@export var mob_scene: PackedScene


func _on_mob_timer_timeout():
    # Create a new instance of the Mob scene.
    var mob = mob_scene.instantiate()

    # Choose a random location on the SpawnPath.
    # We store the reference to the SpawnLocation node.
    var mob_spawn_location = get_node("SpawnPath/SpawnLocation")
    # And give it a random offset.
    mob_spawn_location.progress_ratio = randf()

    var player_position = $Player.position
    mob.initialize(mob_spawn_location.position, player_position)

    # Spawn the mob by adding it to the Main scene.
    add_child(mob)
using Godot;

public partial class Main : Node
{
    [Export]
    public PackedScene MobScene { get; set; }

    private void OnMobTimerTimeout()
    {
        // Create a new instance of the Mob scene.
        Mob mob = MobScene.Instantiate<Mob>();

        // Choose a random location on the SpawnPath.
        // We store the reference to the SpawnLocation node.
        var mobSpawnLocation = GetNode<PathFollow3D>("SpawnPath/SpawnLocation");
        // And give it a random offset.
        mobSpawnLocation.ProgressRatio = GD.Randf();

        Vector3 playerPosition = GetNode<Player>("Player").Position;
        mob.Initialize(mobSpawnLocation.Position, playerPosition);

        // Spawn the mob by adding it to the Main scene.
        AddChild(mob);
    }
}
按 F6 即可测试该场景。你应该会看到有怪物刷了出来,然后会进行直线运动。
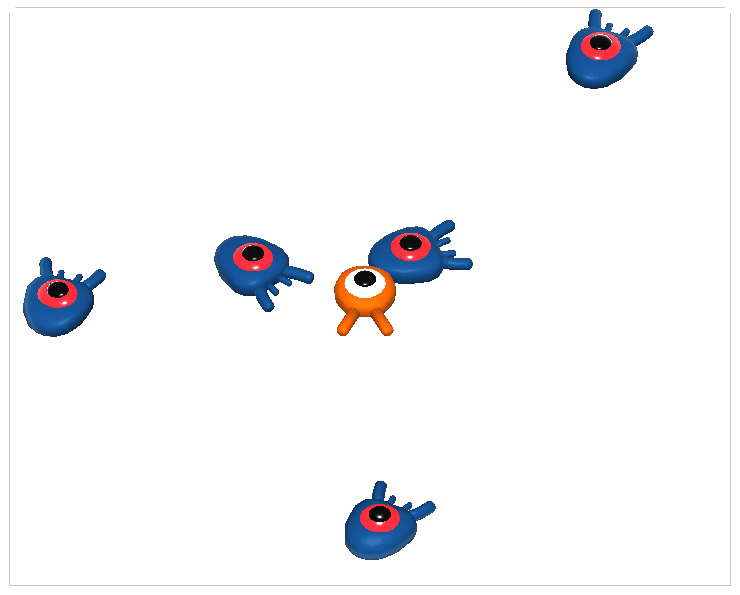
目前,它们会在路线的交叉点撞到一起滑来滑去。我们会在下一部分解决这个问题。